Connecting a Spring Boot Application to Yugabyte Cloud and Deploying It on Amazon Elastic Kubernetes Service (EKS)
- Published on
- Written by
- Name
- Gavin Johnson
This post was originally published on Yugabyte’s blog.
Spring Boot is one of the most popular frameworks for building cloud native applications. It makes configuring an application easy and offers tons of starters to get you off the ground quickly. Each Spring Boot application is stand-alone and self-contained, which makes them easy to deploy in a distributed fashion – to containers or, even better, on Kubernetes.
Yugabyte Cloud is a perfect match for Spring Boot applications, especially ones made highly available with Kubernetes. Yugabyte Cloud gives you a PostgreSQL-compatible database that is resilient and scalable, just like the applications you run on k8s. You can scale your YugabyteDB cluster out (or in) with just a few clicks. So you can spend less time worrying about running your database and more time focused on building better software. It’s cloud native SQL for cloud native applications. Sign up for Yugabyte Cloud today.
Walkthrough
In this post, we’ll walk you through connecting a Spring Boot application to Yugabyte Cloud and deploying it on Kubernetes via Amazon Elastic Kubernetes Service (EKS). You can view our walkthrough on connecting a Spring Boot application to Yugabyte Cloud and deploying it on Kubernetes via Google Kubernetes Engine (GKE) here and via minikube here. We’ll be using a slightly updated version of the popular Spring Boot PetClinic sample application that has a profile making it compatible with YugabyteDB. The repository for this is at https://github.com/yugabyte/spring-petclinic.
In this walkthrough, you will:
- Create a free Yugabyte Cloud account and database cluster
- Download the Spring Boot PetClinic sample application and connect it to Yugabyte Cloud
- Containerize the Spring Boot PetClinic sample application
- Deploy the Spring Boot PetClinic sample application image to EKS
Prerequisites
Note: Anything in brackets [ ] needs to be replaced with information from your deployment.
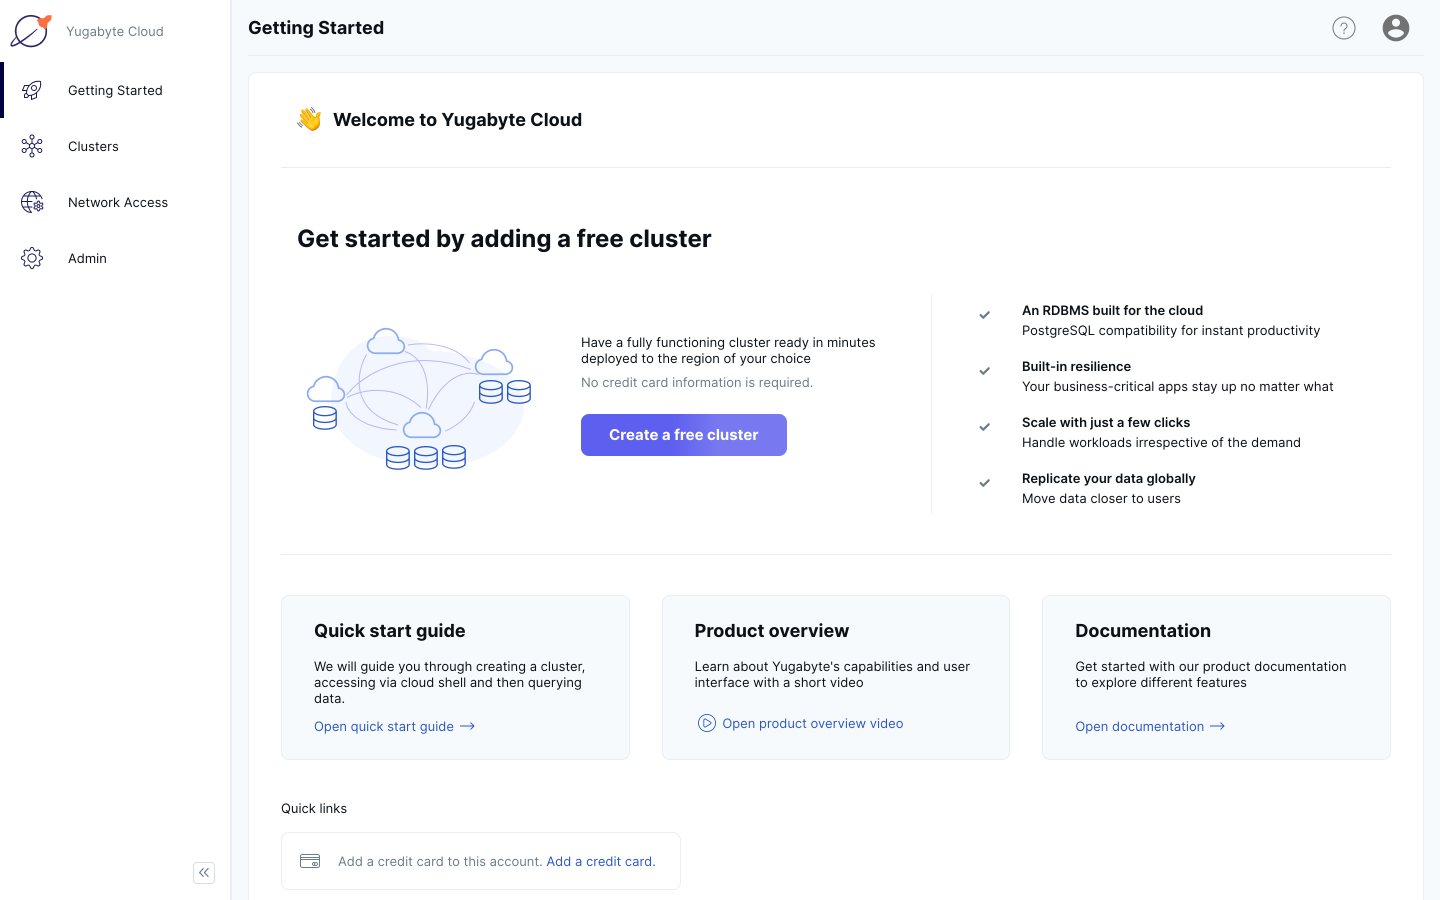
Create a free Yugabyte Cloud account and database cluster
Go to https://cloud.yugabyte.com/signup and sign up for a Yugabyte Cloud account. After you’ve signed up and verified your email address, go to https://cloud.yugabyte.com/login and sign in.
Click the Create a Free Cluster button.
Select Yugabyte Cloud Free and click the Next button.
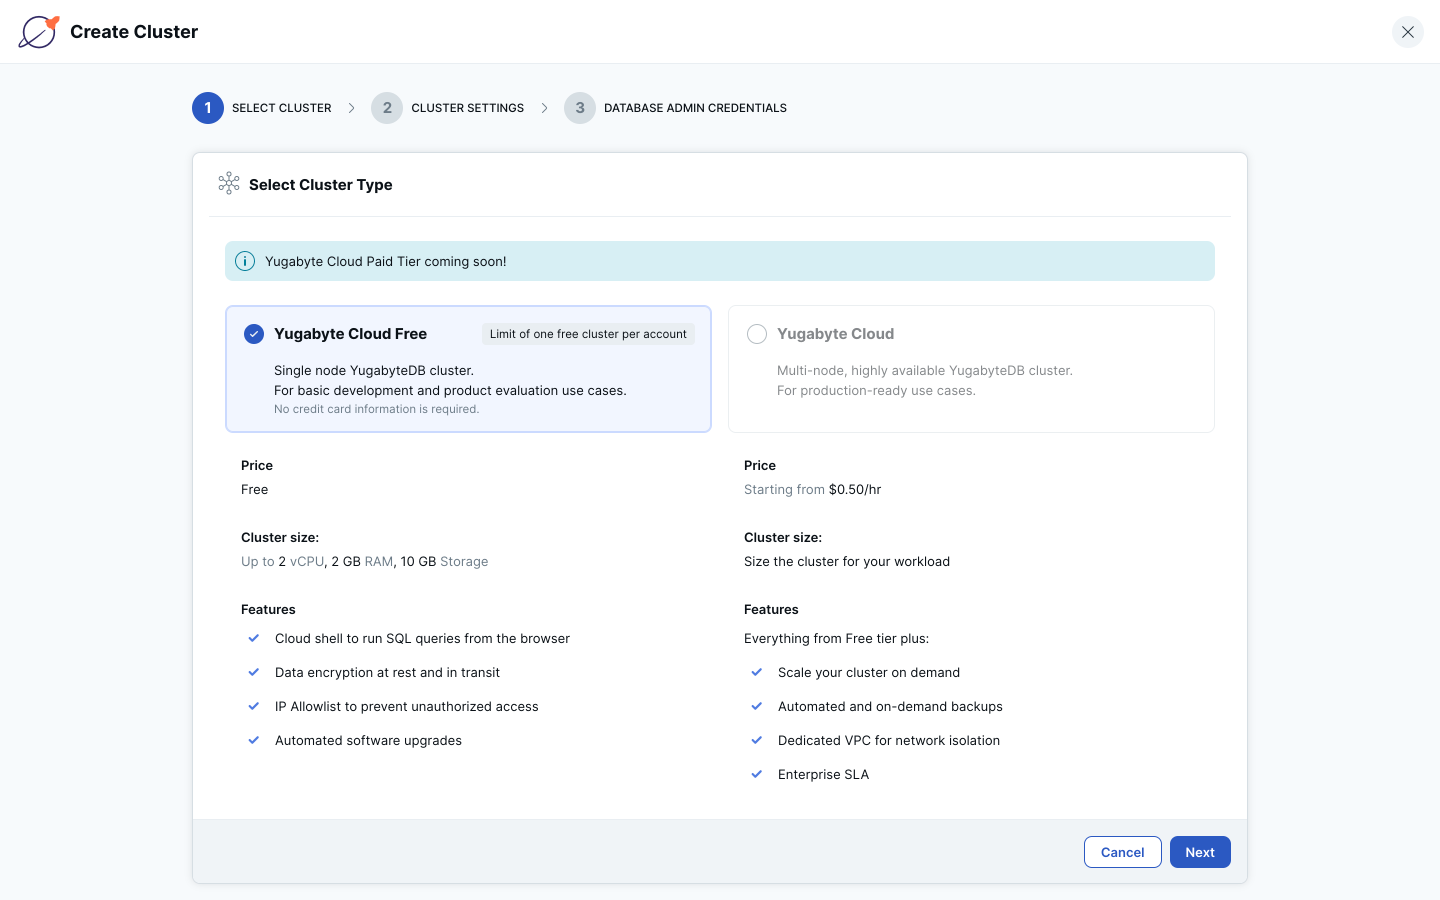
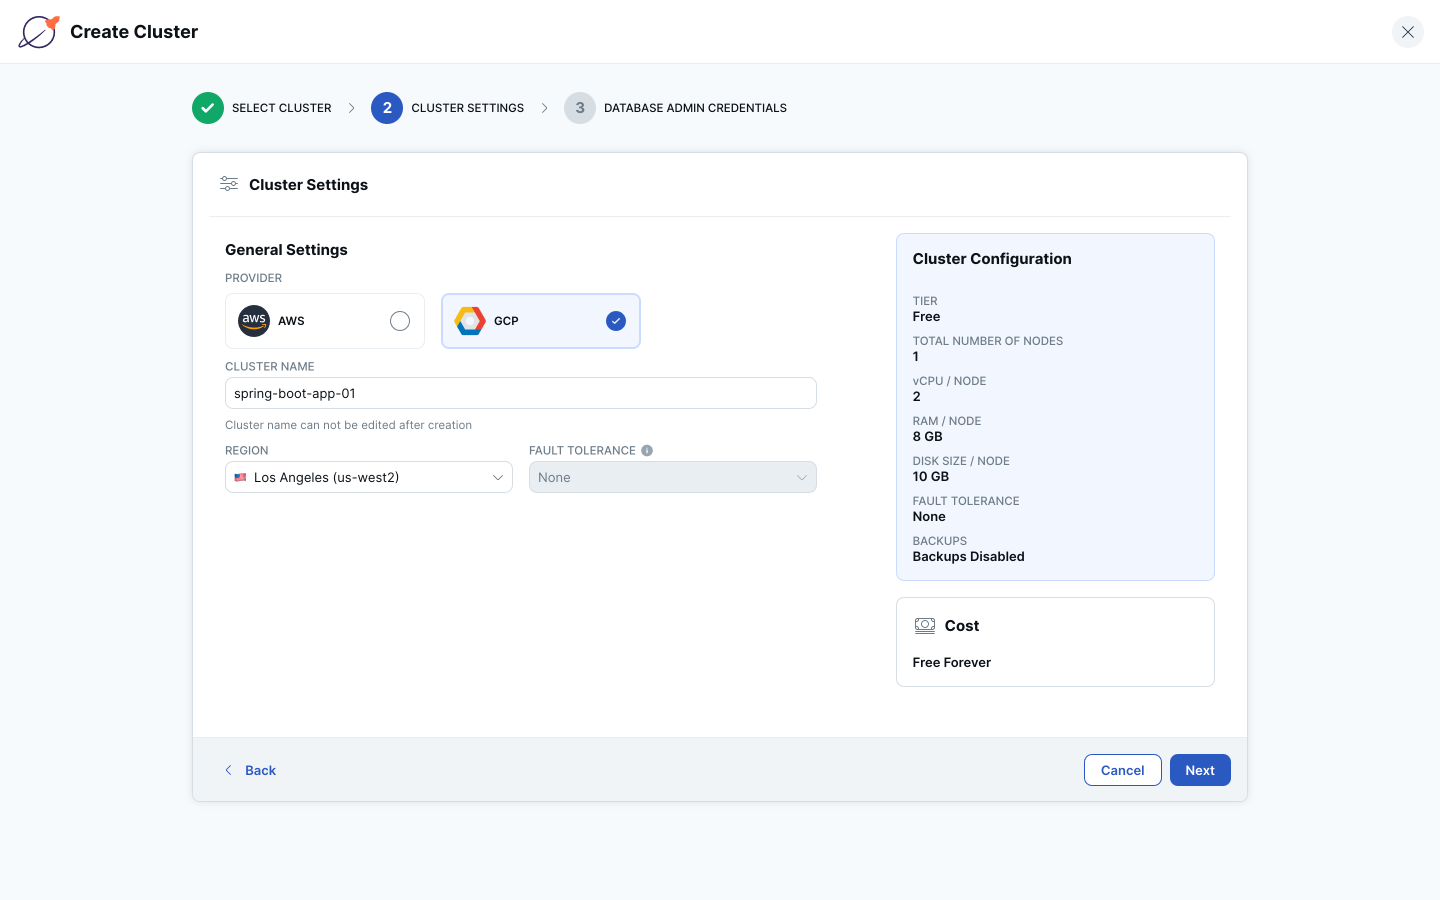
Select a cloud provider for your cluster, name your cluster, select a region, and click the Next button.
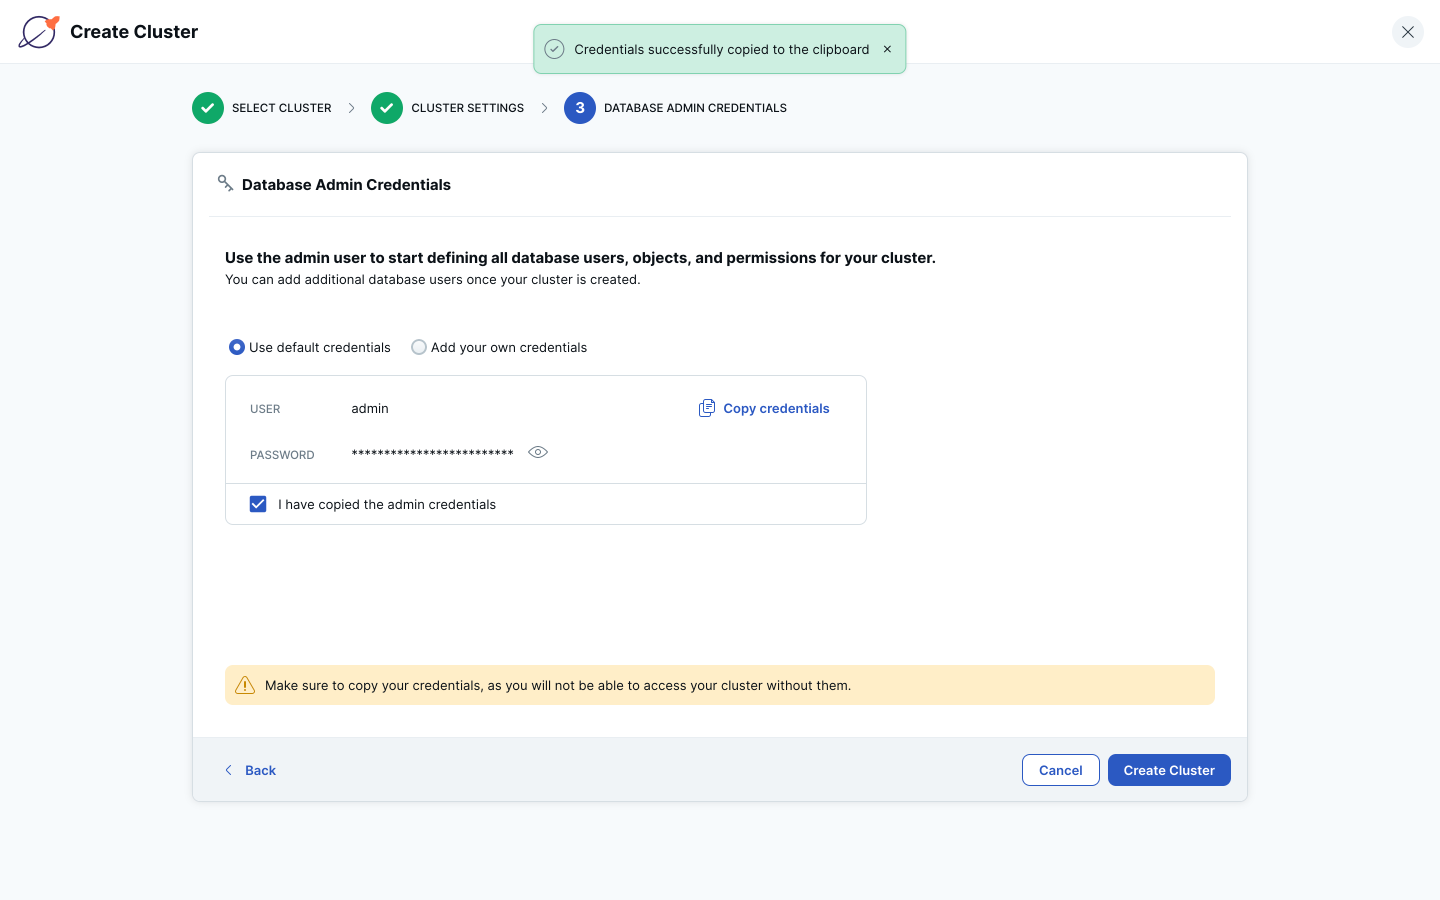
Copy the default admin credentials by clicking the Copy Credentials link. Then check the “I have copied the admin credentials” checkbox and click the Create Cluster button.
a. You can also set your own admin credentials by selecting the “Add your own credentials” radio button and entering your own credentials.
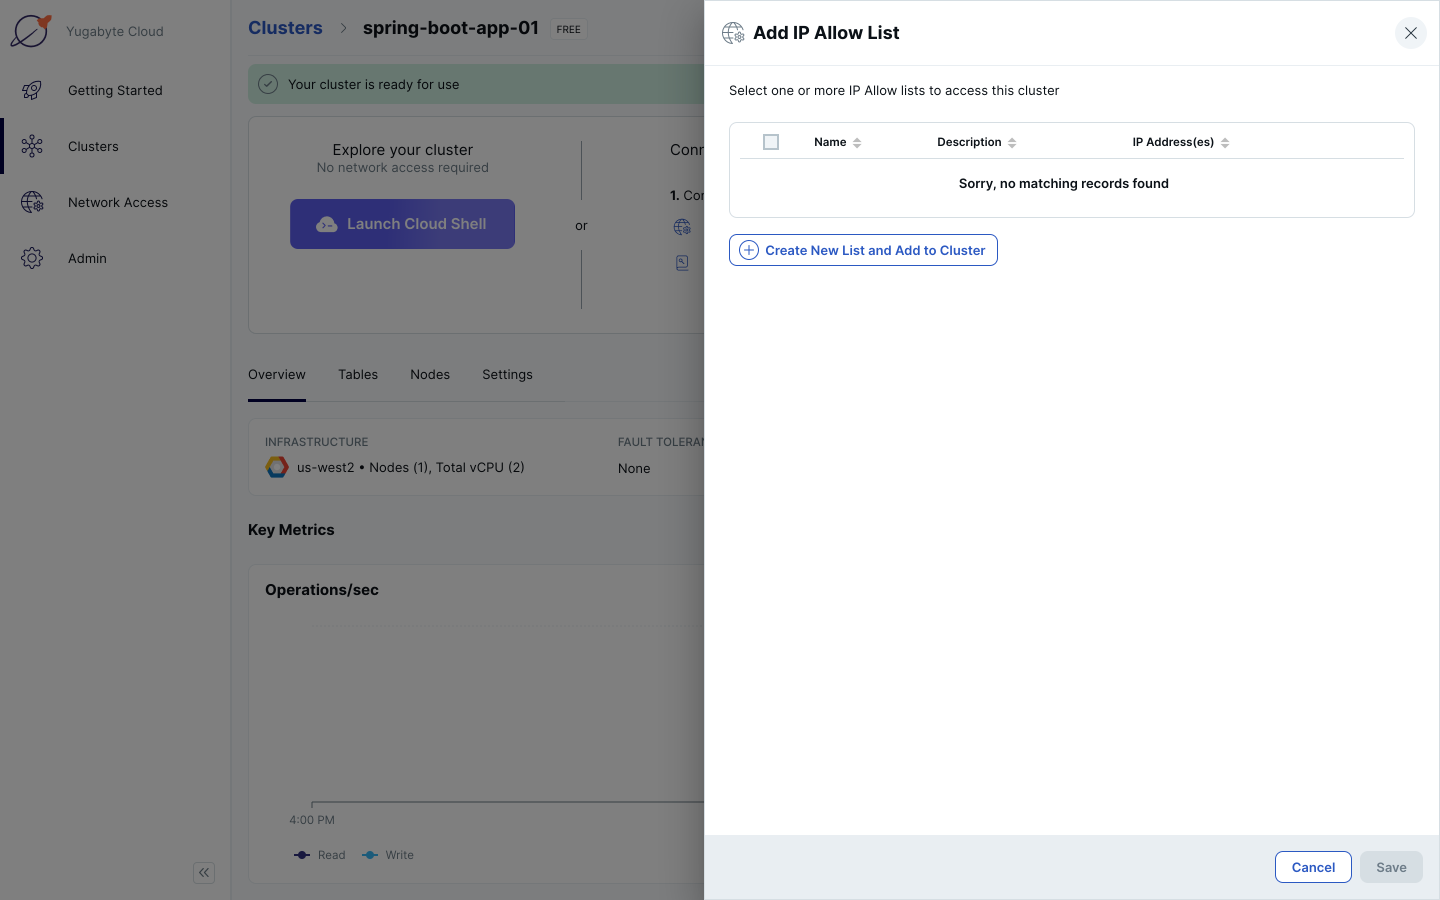
Wait for your cluster to be provisioned. Click on “Add IP Allow List” in the top section of the Clusters page.

Click the Create New List and Add to Cluster button.
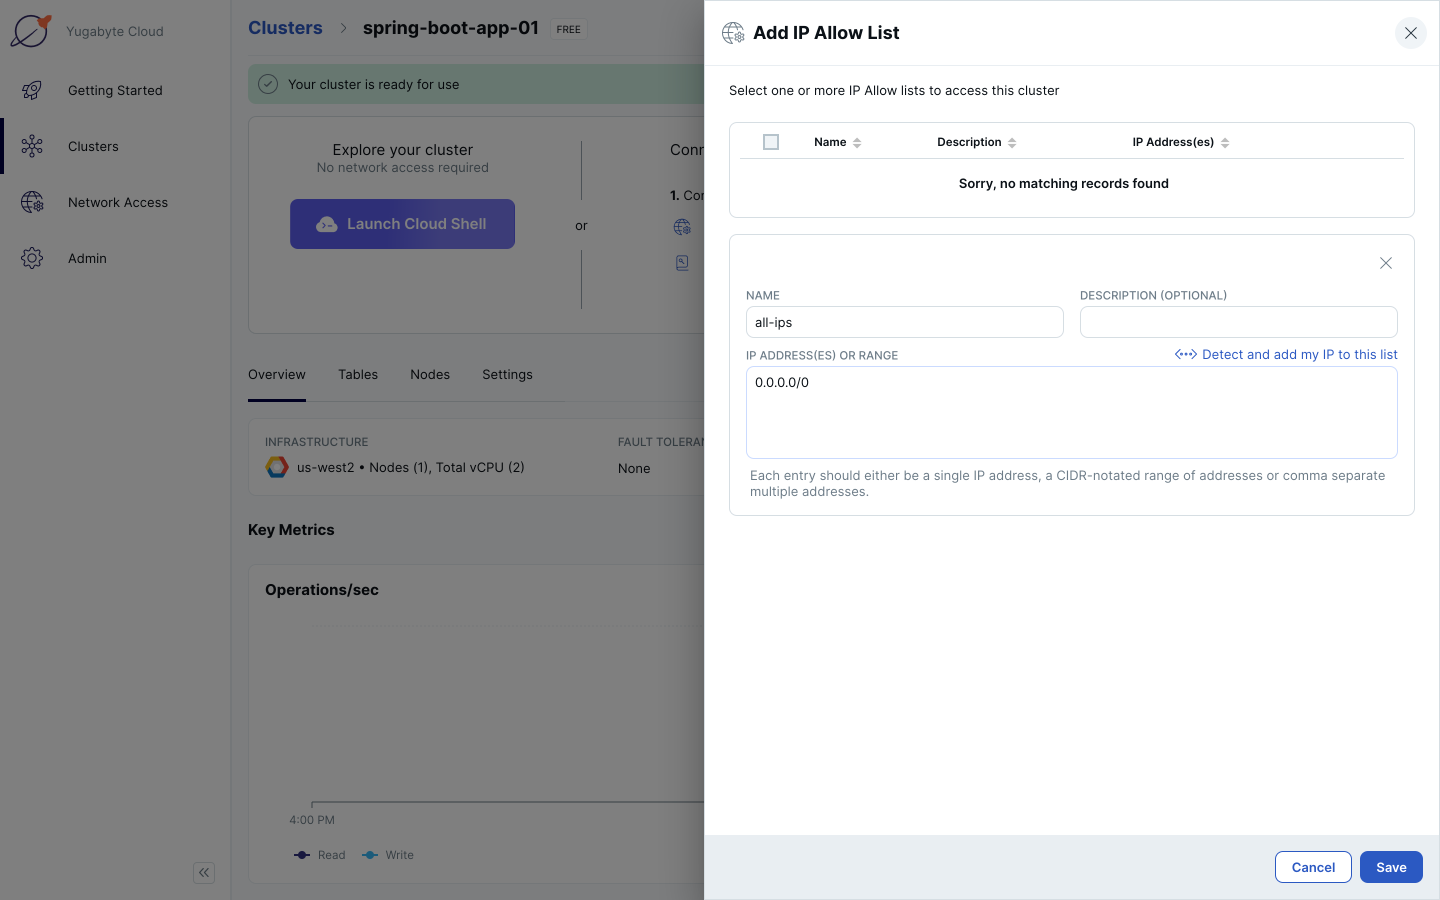
In the Name text box, enter “all-ips”. In the IP Address(es) or Range text box, enter “0.0.0.0/0”. Click the Save button. This will allow traffic from all IP addresses to your cluster.
a. Allowing all IPs access to your cluster is for development purposes only. When you deploy an application to Production, you will want to specify only the specific IP addresses or ranges that need access to your cluster.
Your cluster is now created in Yugabyte Cloud and is accessible to all IP addresses. Leave this page open, as you’ll be accessing the Cloud Shell later to create an application database and user.
Download the Spring Boot PetClinic sample application and connect it to Yugabyte Cloud
Note: Instructions for how to connect this application to YugabyteDB are in spring-petclinic/src/main/resources/db/yugabytedb/petclinic_db_setup_yugabytedb.md from the repo you clone below.
On your computer from terminal, clone the Spring Boot PetClinic sample application:
git clone https://github.com/yugabyte/spring-petclinic.git.$ git clone https://github.com/yugabyte/spring-petclinic.git Cloning into 'spring-petclinic'... remote: Enumerating objects: 8616, done. remote: Counting objects: 100% (18/18), done. remote: Compressing objects: 100% (18/18), done. remote: Total 8616 (delta 1), reused 13 (delta 0), pack-reused 8598 Receiving objects: 100% (8616/8616), 7.29 MiB | 19.03 MiB/s, done. Resolving deltas: 100% (3268/3268), done.cd spring-petclinic.Copy the contents of
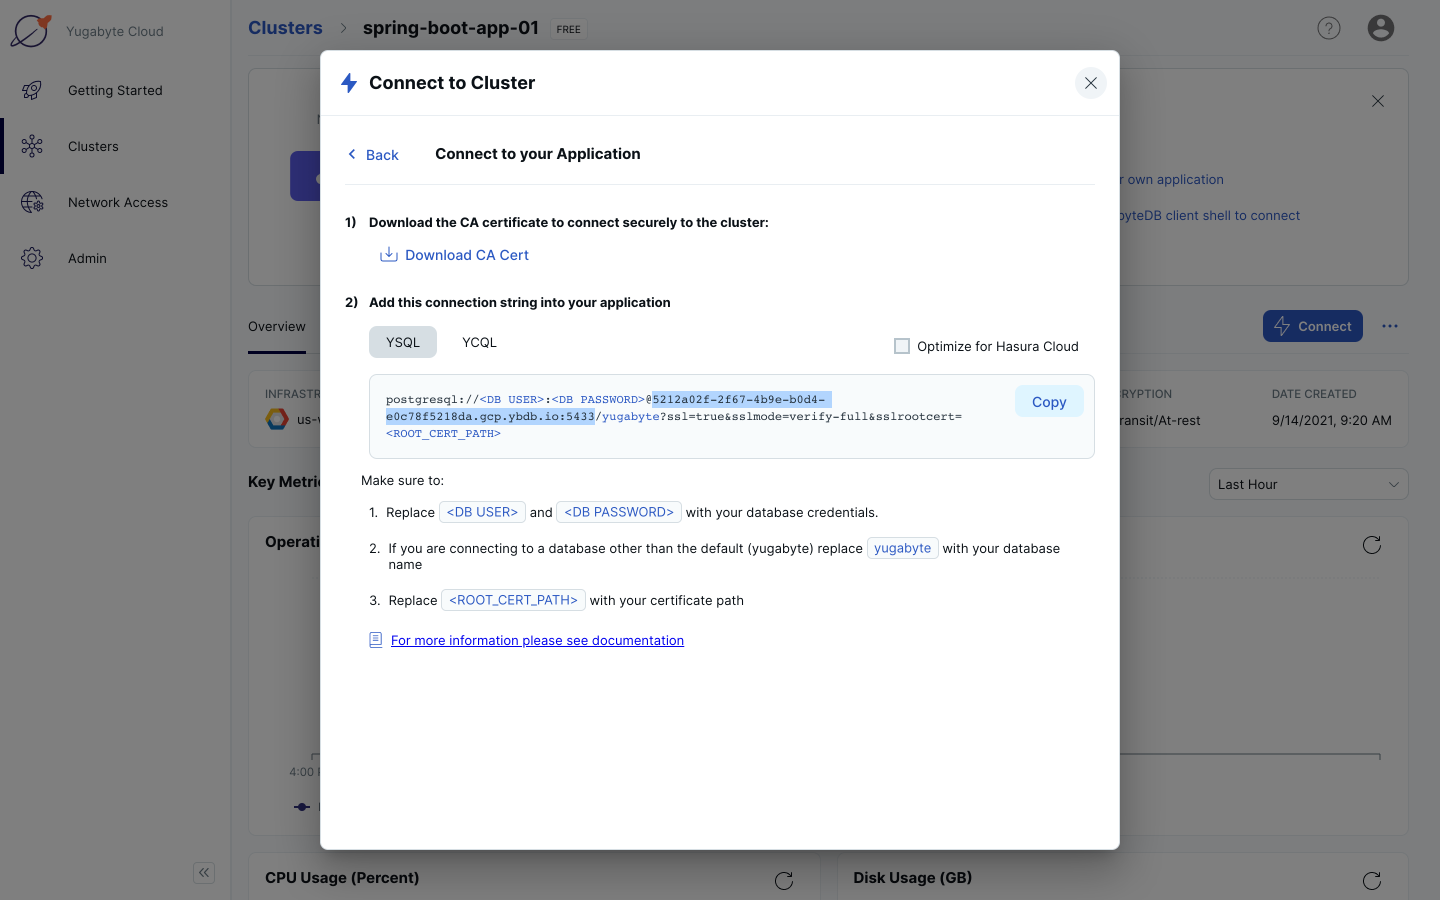
spring-petclinic/src/main/resources/db/yugabytedb/user.sql.In Yugabyte Cloud, click on “Connect”. Click on Connect to your Application.
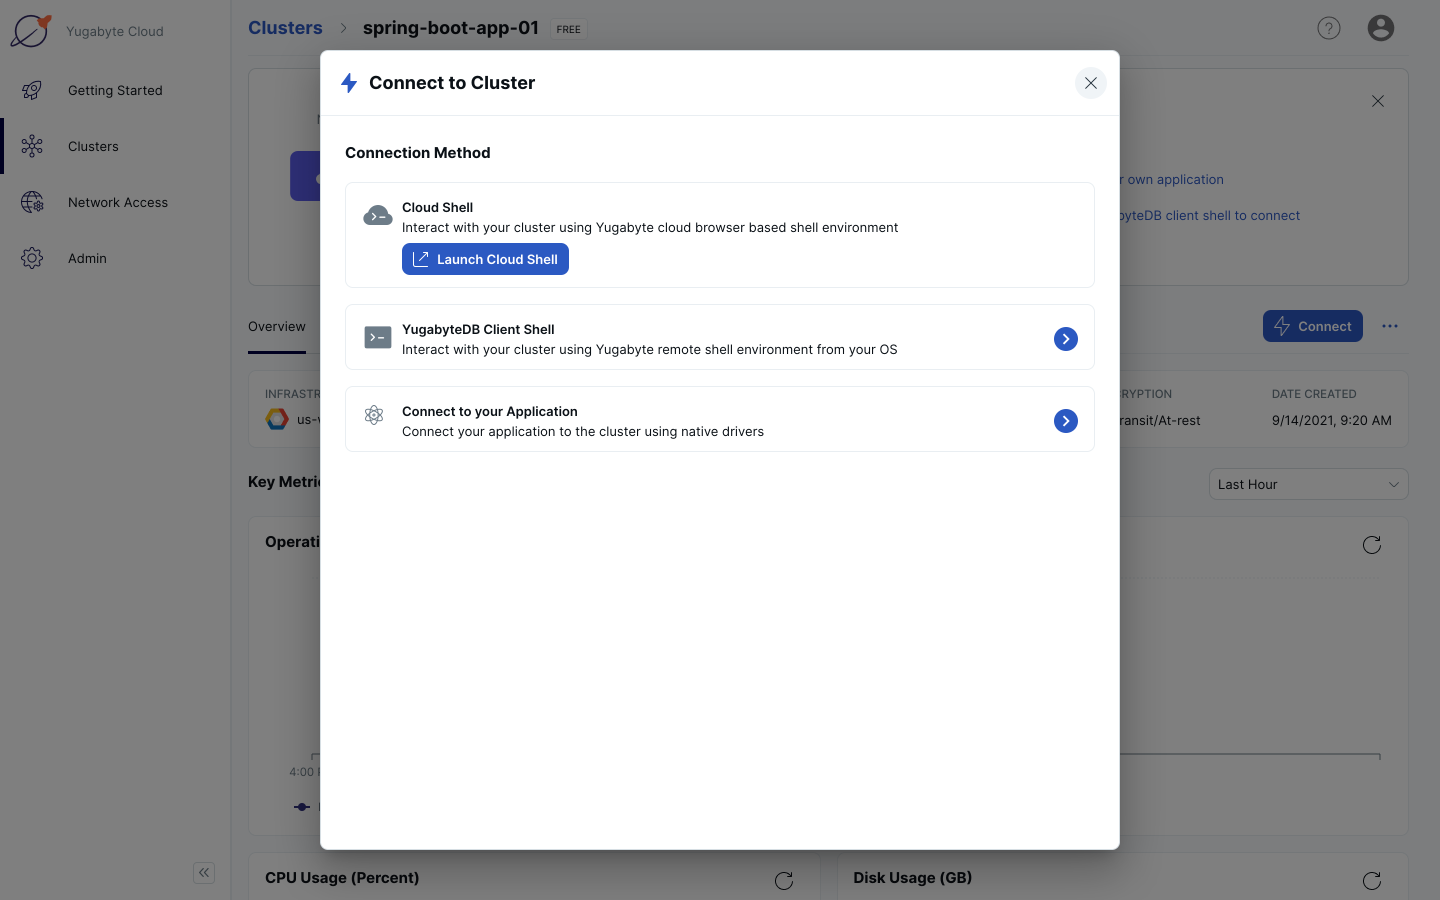
Save your host address and port (highlighted in the screenshot below) for later. Click the Back link in the Connect to Cluster navigation breadcrumb.
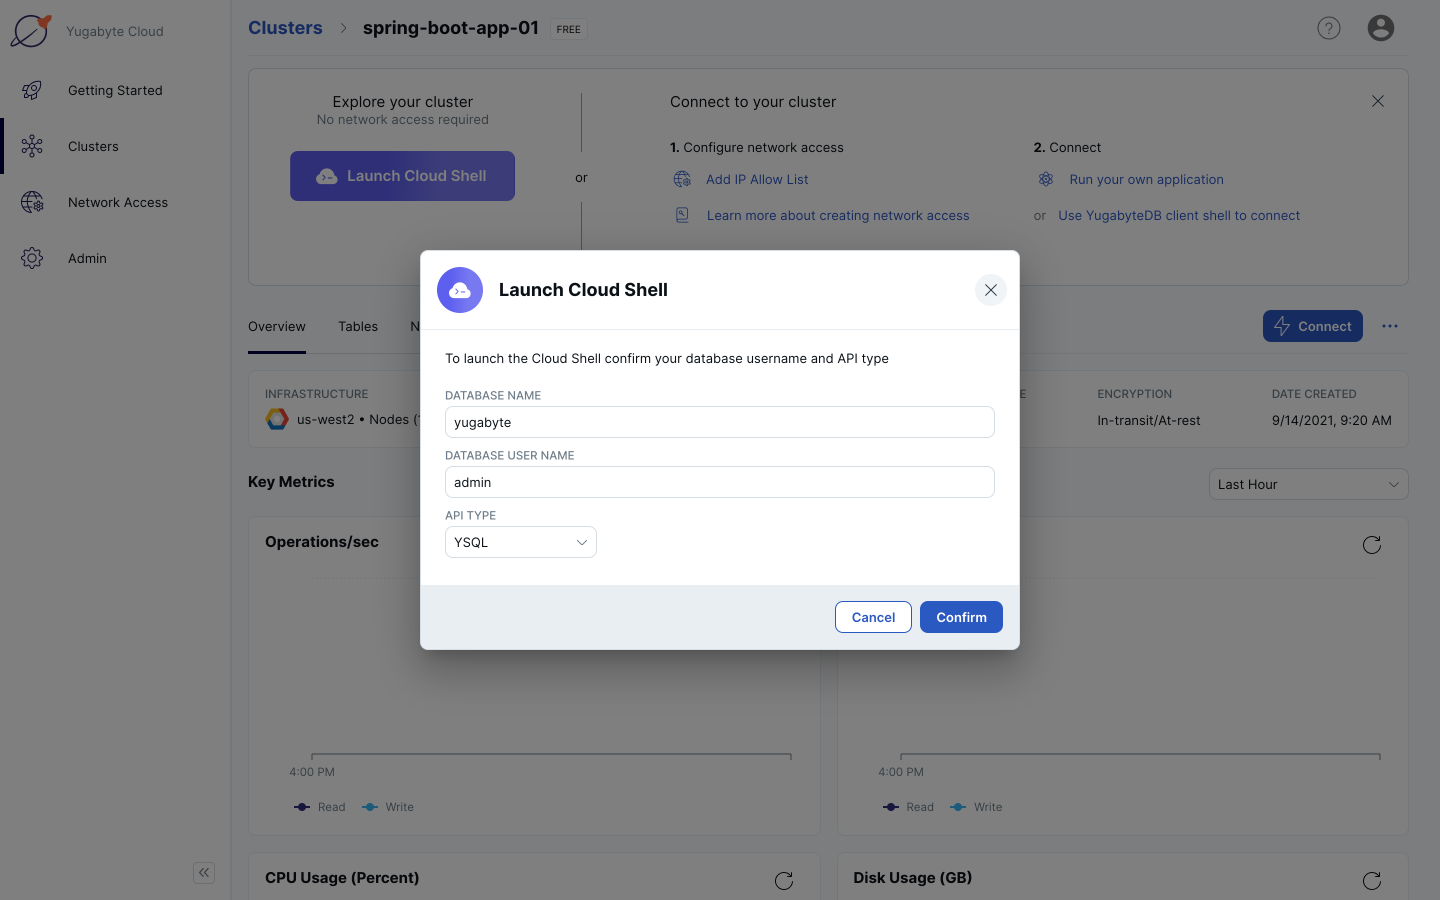
Click the Launch Cloud Shell button.
Leave the default Database Name, Database User Name, and API Type. Click the Confirm button. This will launch the Cloud Shell.
Enter the admin password you copied previously. After you enter the password, you will have a standard YSQL shell (exactly like a PSQL shell in PostgreSQL) that you can interact with from your browser.
Password for user admin:
ysqlsh (11.2-YB-2.4.2.0-b0)
SSL connection (protocol: TLSv1.2, cipher: ECDHE-RSA-AES256-GCM-SHA384, bits: 256, compression: off)
Type "help" for help.

yugabyte=#
Go to http://localhost:8080. The PetClinic sample application should be available.
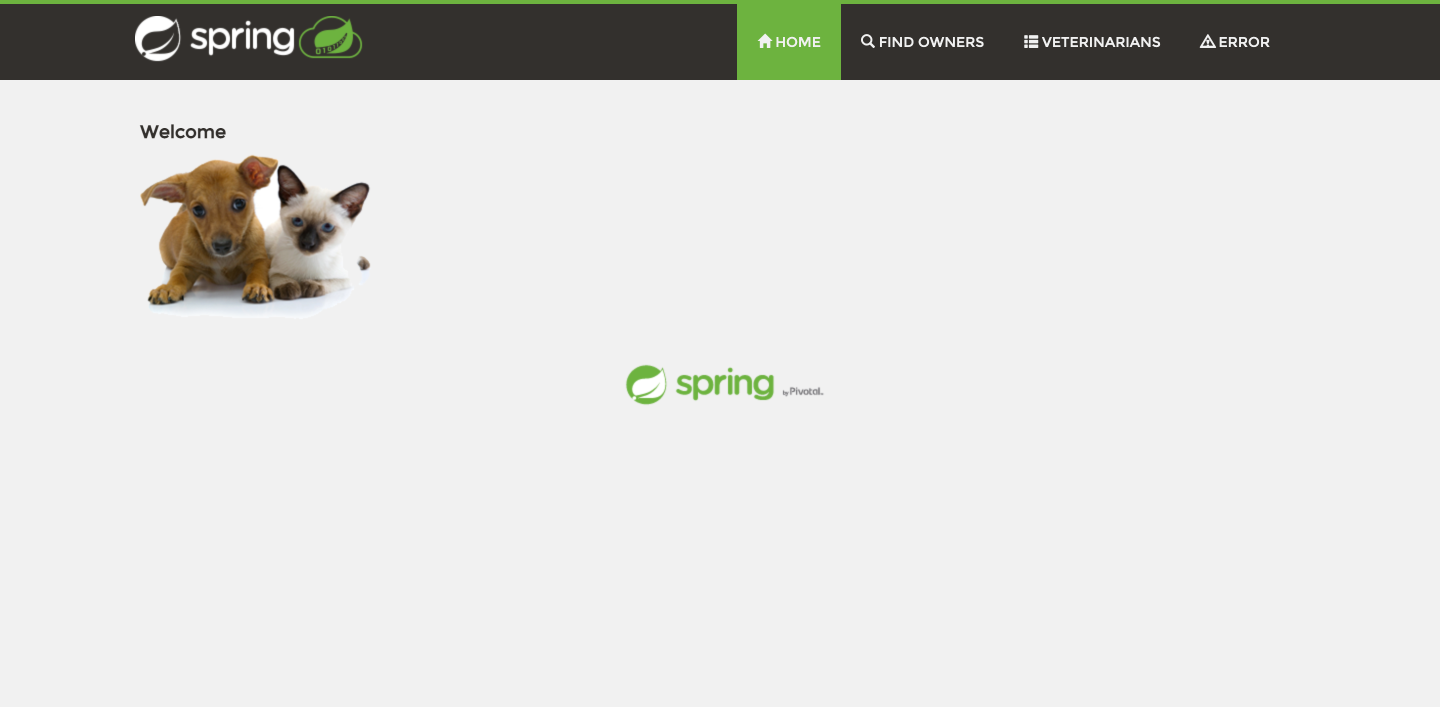
The PetClinic sample application is now connected to your Yugabyte Cloud cluster and running locally.
Containerize the Spring Boot PetClinic sample application
Start Docker on your computer and containerize your Spring Boot PetClinic sample application:
./mvnw spring-boot:build-image.Tag your image:
docker tag [image_id] spring-petclinic– you can find your image id by runningdocker image ls.Run your image as a container in Docker to make sure it’s working correctly:
docker run -d --name=spring-petclinic -p 8080:8080 -e JAVA_OPTS="-Dspring.profiles.active=yugabytedb -Dspring.datasource.url=jdbc:postgresql://[host]:[port]/petclinic?load-balance=true -Dspring.datasource.initialization-mode=never" spring-petclinic.a. Go to http://localhost:8080. The PetClinic sample application should be available.
The PetClinic sample application is now connected to your Yugabyte Cloud cluster and running locally on Docker.
Deploy the Spring Boot PetClinic sample application image to Amazon Elastic Kubernetes Service (EKS)
Go to https://aws.amazon.com/console/ and sign up for/sign in to Amazon Web Services (AWS).
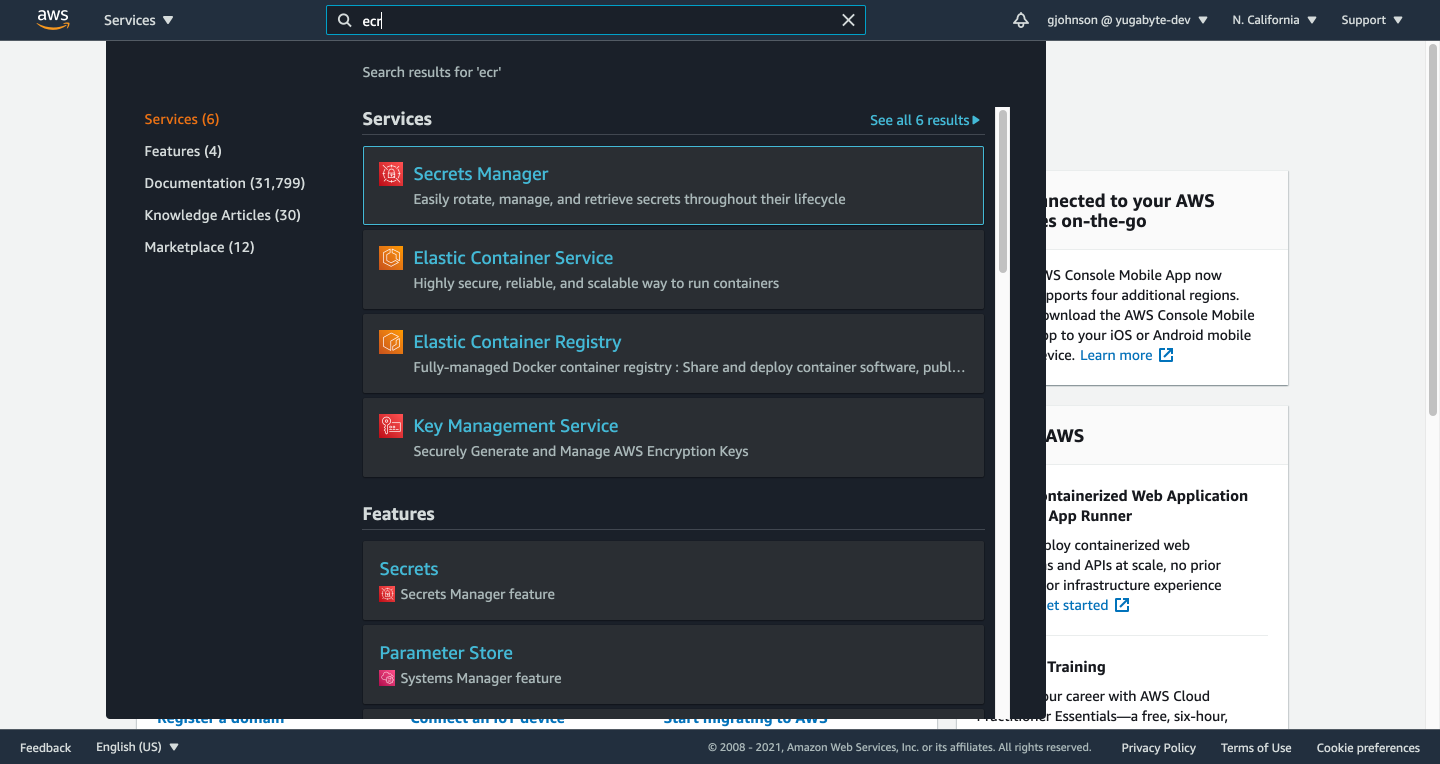
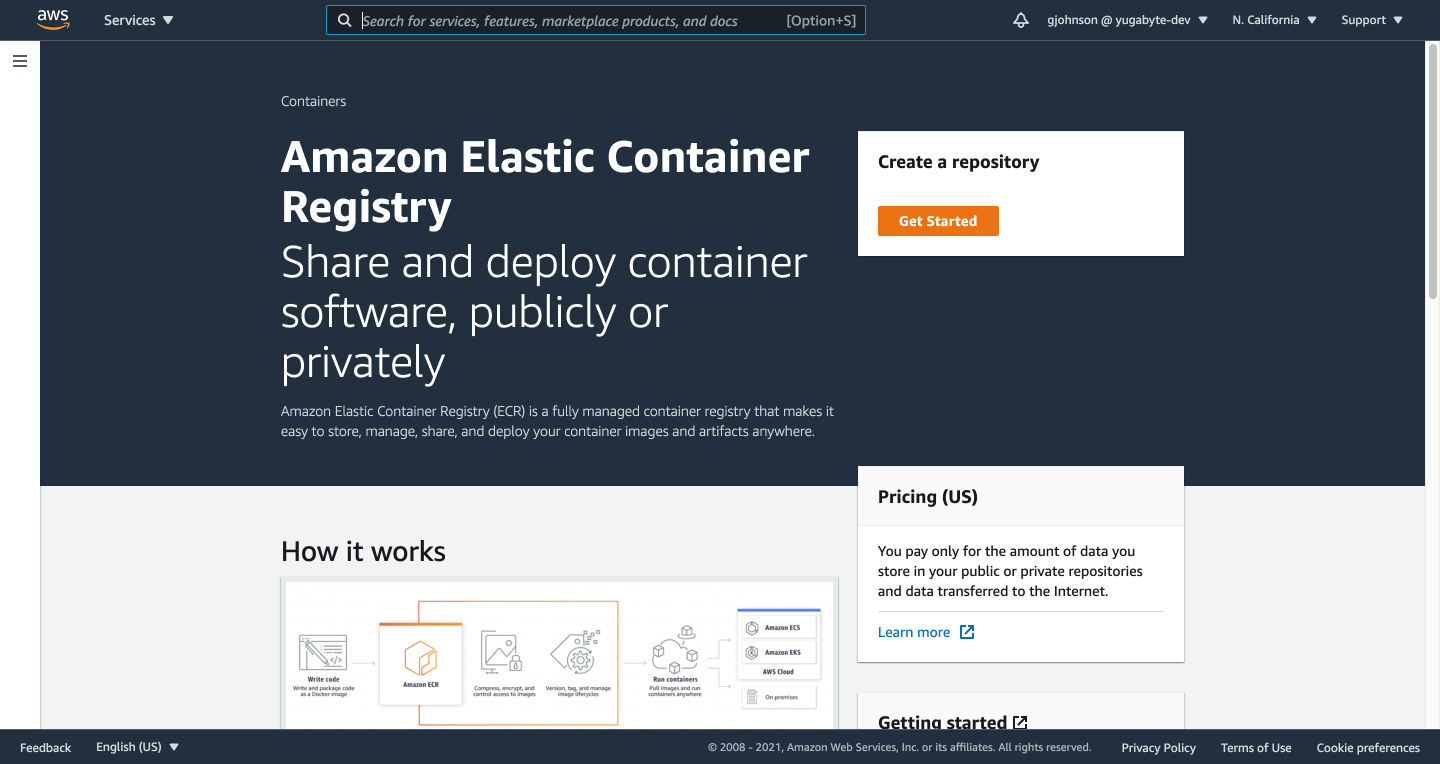
Type “ecr” in the search bar and click on “Elastic Container Registry”.
Create a repository by clicking the Get Started button.
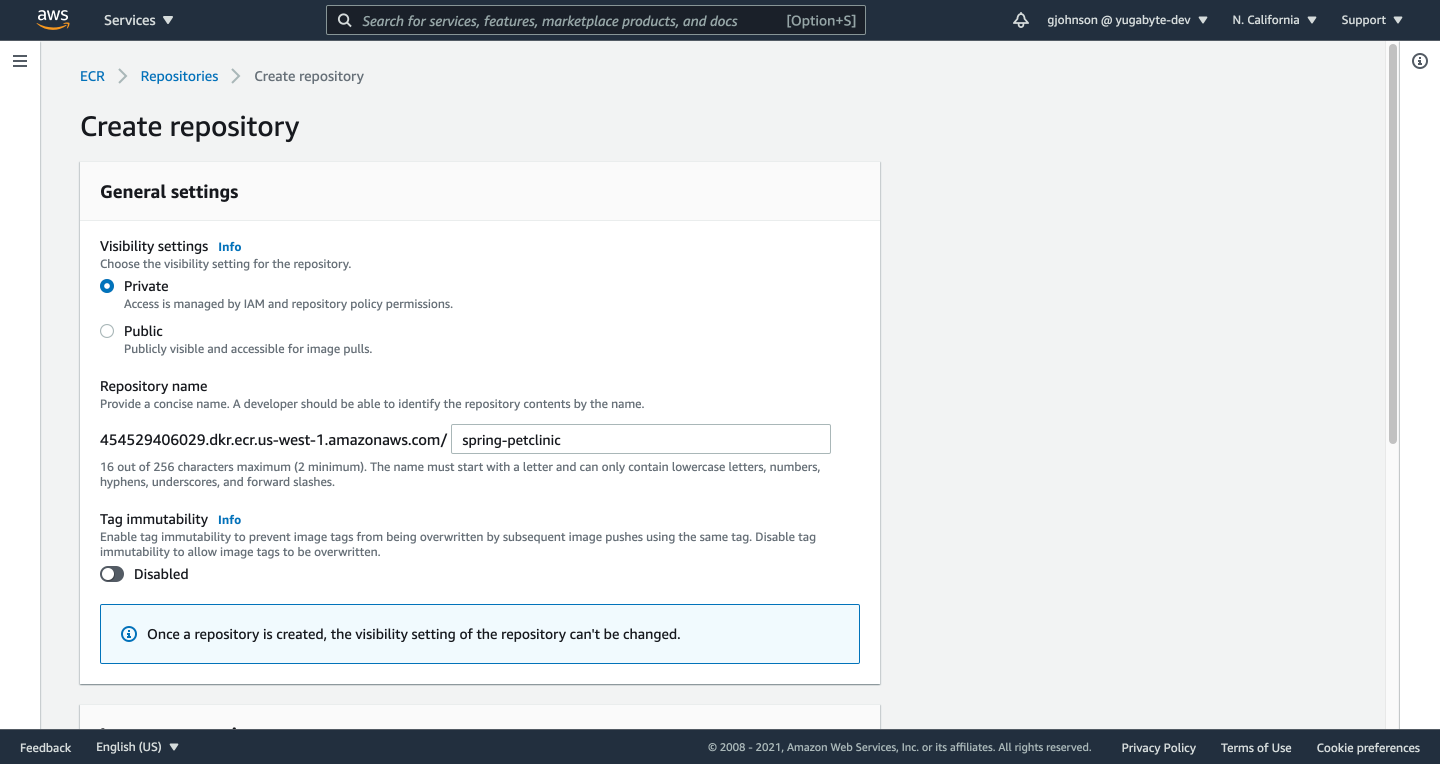
Enter a repository name and click the Create Repository button.
On your computer from terminal, login to ECR with Docker:
aws ecr get-login-password --region [aws_region] | docker login --username AWS --password-stdin [aws_acct_id].dkr.ecr.[aws_region].amazonaws.com.$ aws ecr get-login-password --region us-west-1 | docker login --username AWS --password-stdin 454529406029.dkr.ecr.us-west-1.amazonaws.com WARNING! Your password will be stored unencrypted in /Users/gavinjohnson/.docker/config.json. Configure a credential helper to remove this warning. See https://docs.docker.com/engine/reference/commandline/login/#credentials-store Login SucceededTag your PetClinic image with your ECR repo:
docker tag spring-petclinic:latest [aws_acct_id].dkr.ecr.[aws_region].amazonaws.com/spring-petclinic:latest.Push your PetClinic image to your repo in ECR:
docker push [aws_acct_id].dkr.ecr.[aws_region].amazonaws.com/spring-petclinic:latest.$ docker push 454529406029.dkr.ecr.us-west-1.amazonaws.com/spring-petclinic:latest The push refers to repository [454529406029.dkr.ecr.us-west-1.amazonaws.com/spring-petclinic] 1dc94a70dbaa: Pushed 0d29ec96785e: Pushed 888ed16fa8d4: Pushed ...If you go to your repo in ECR, you should see the image you just pushed.

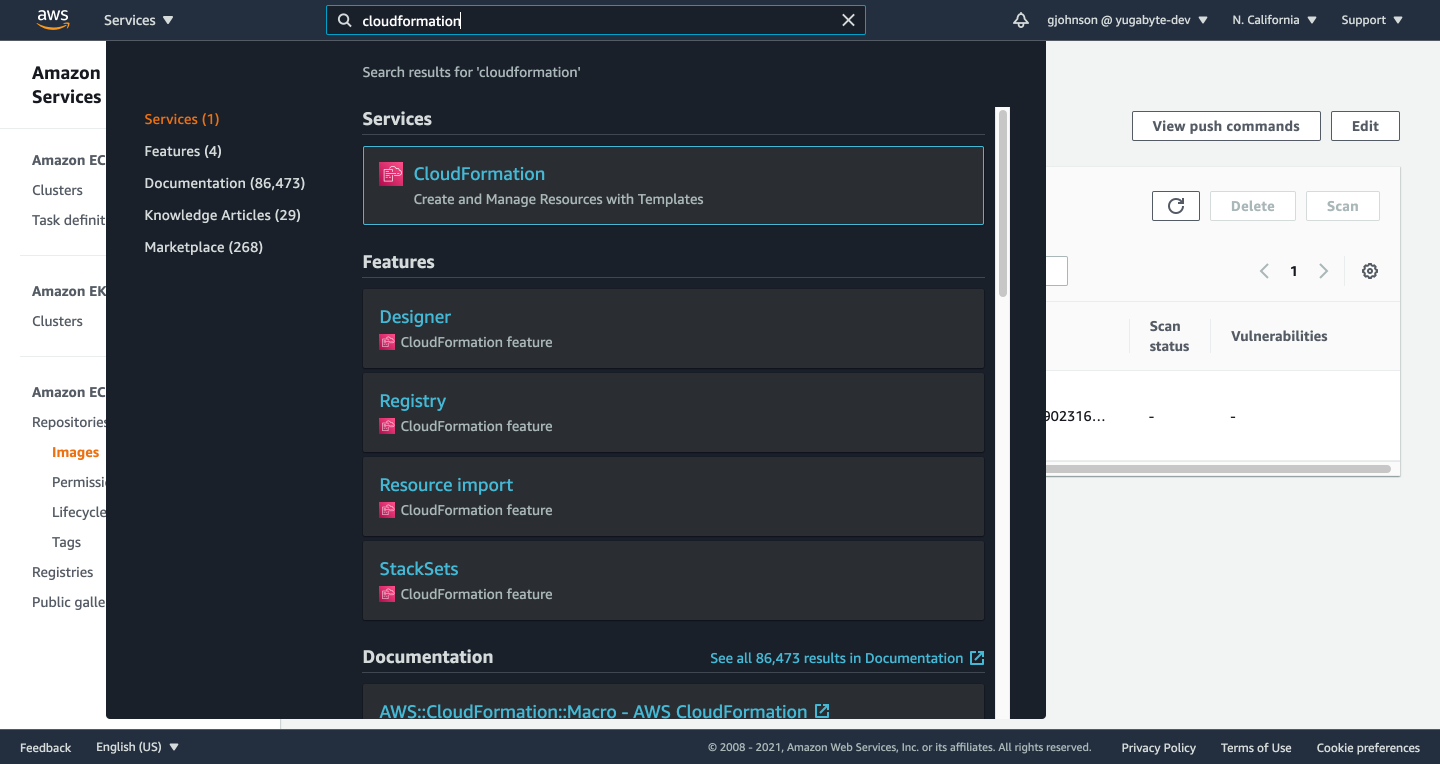
Type “cloudformation” in the search bar and click on “CloudFormation”.
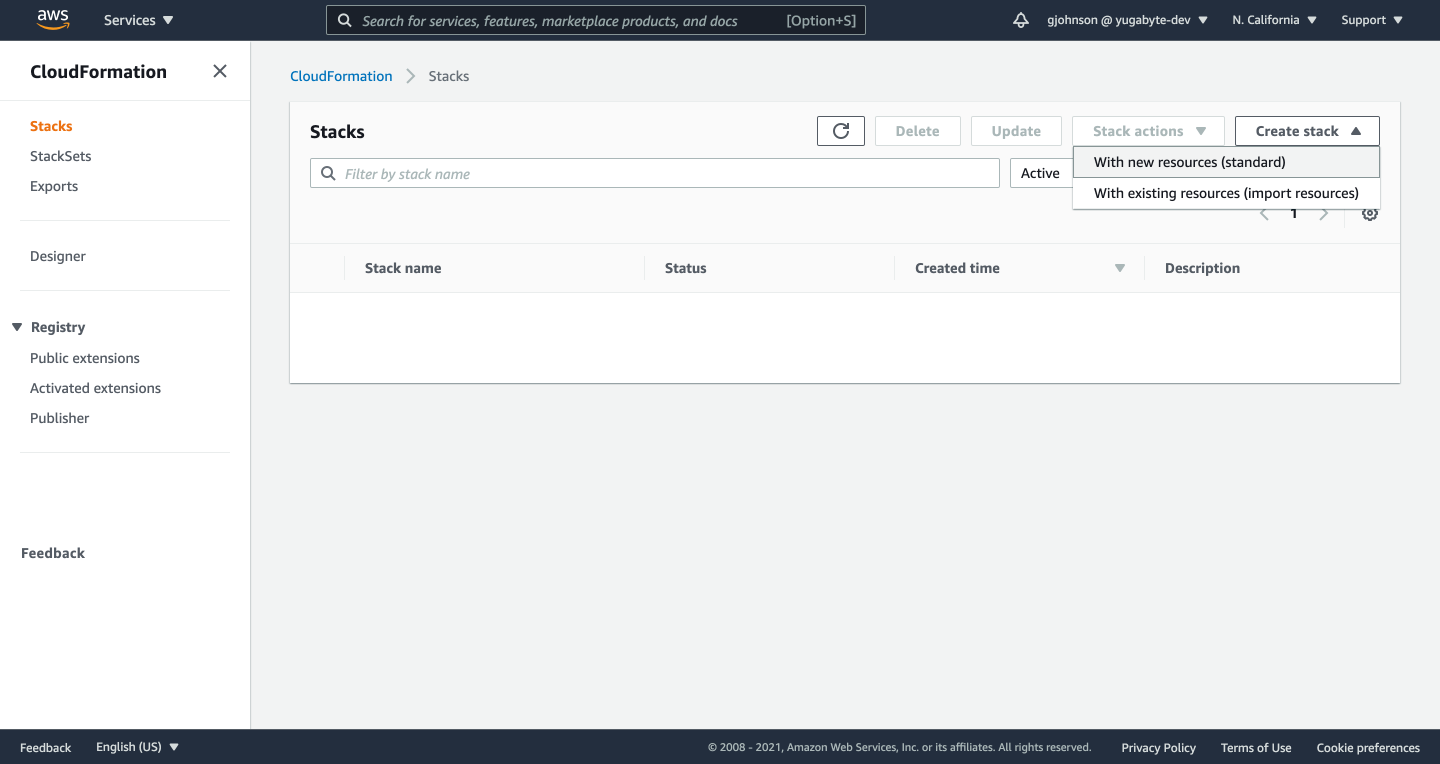
Click on Create Stack -> Create stack, With new resources (standard).
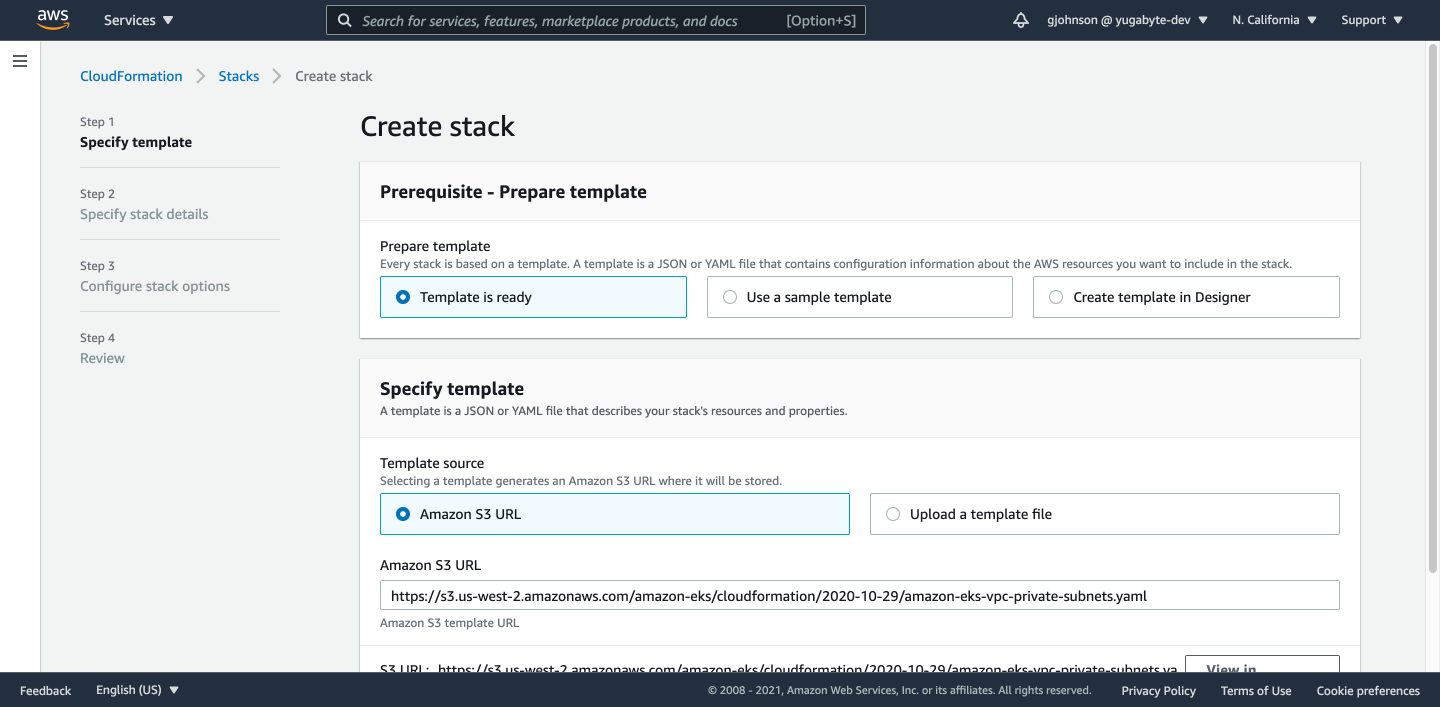
For Prepare Template, select Template is Ready. For Template Source, select Amazon S3 URL. For Amazon S3 URL, enter “https://s3.us-west-2.amazonaws.com/amazon-eks/cloudformation/2020-10-29/amazon-eks-vpc-private-subnets.yaml”. Click the Next button.
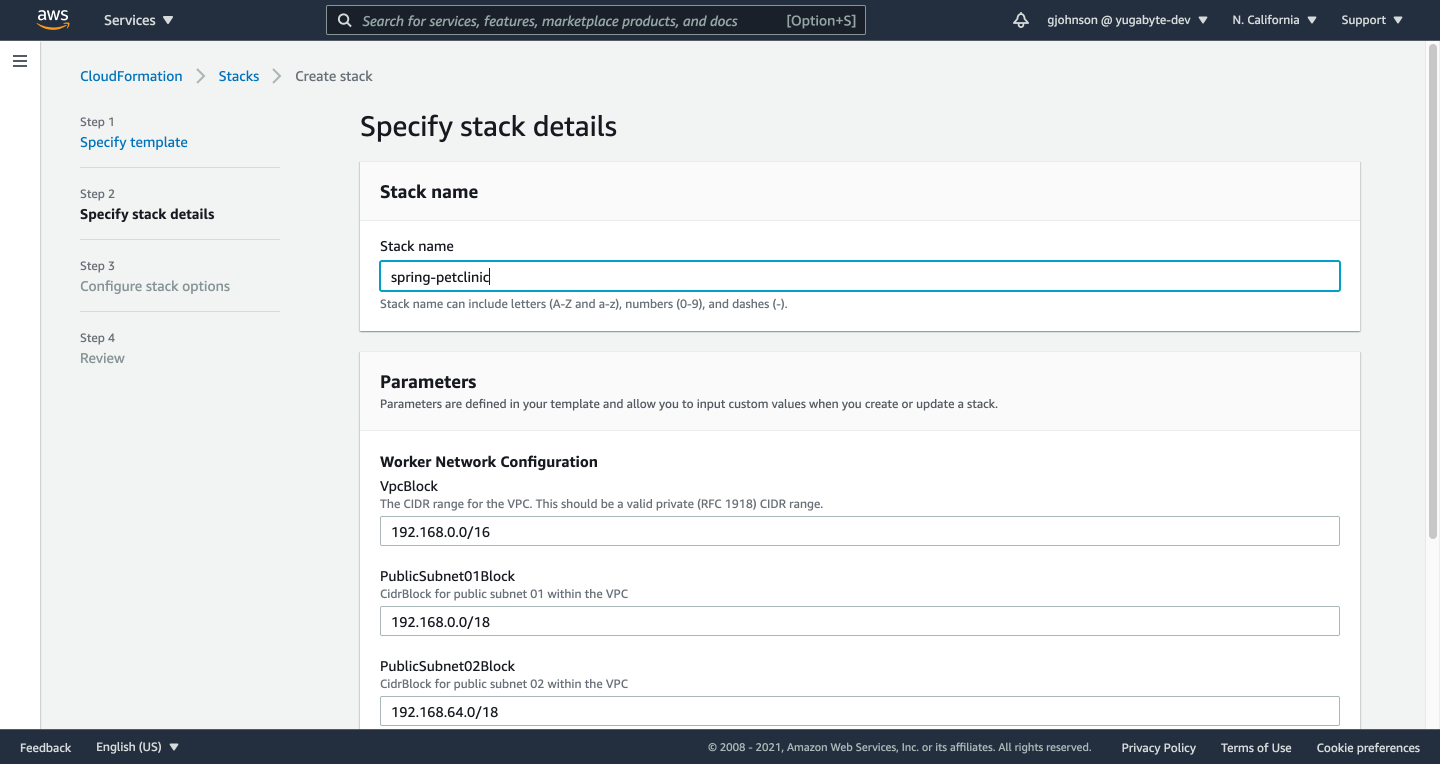
Enter a Stack Name, and click the Next button.
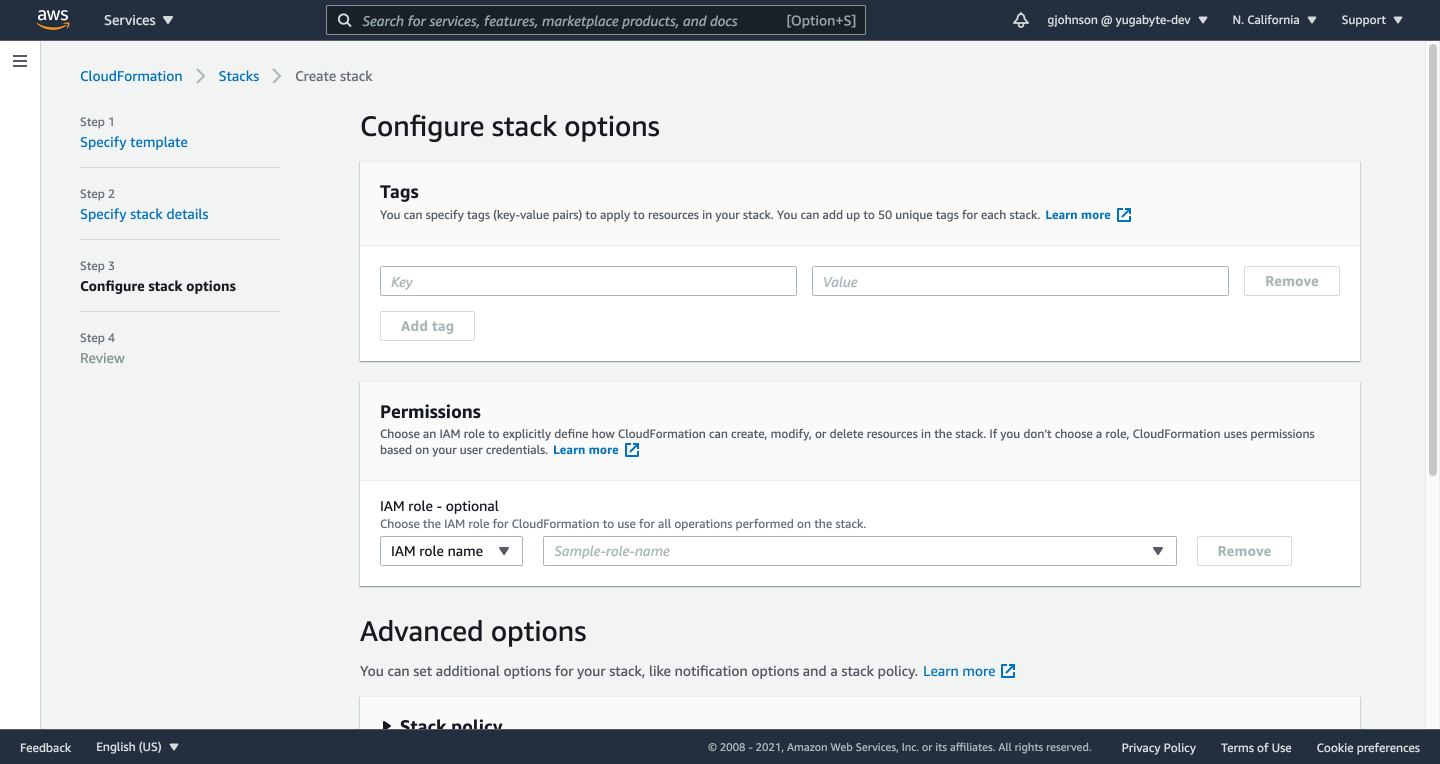
On the Configure Stack Options page, click the Next button.
Review your VPC stack and click the Create Stack button.

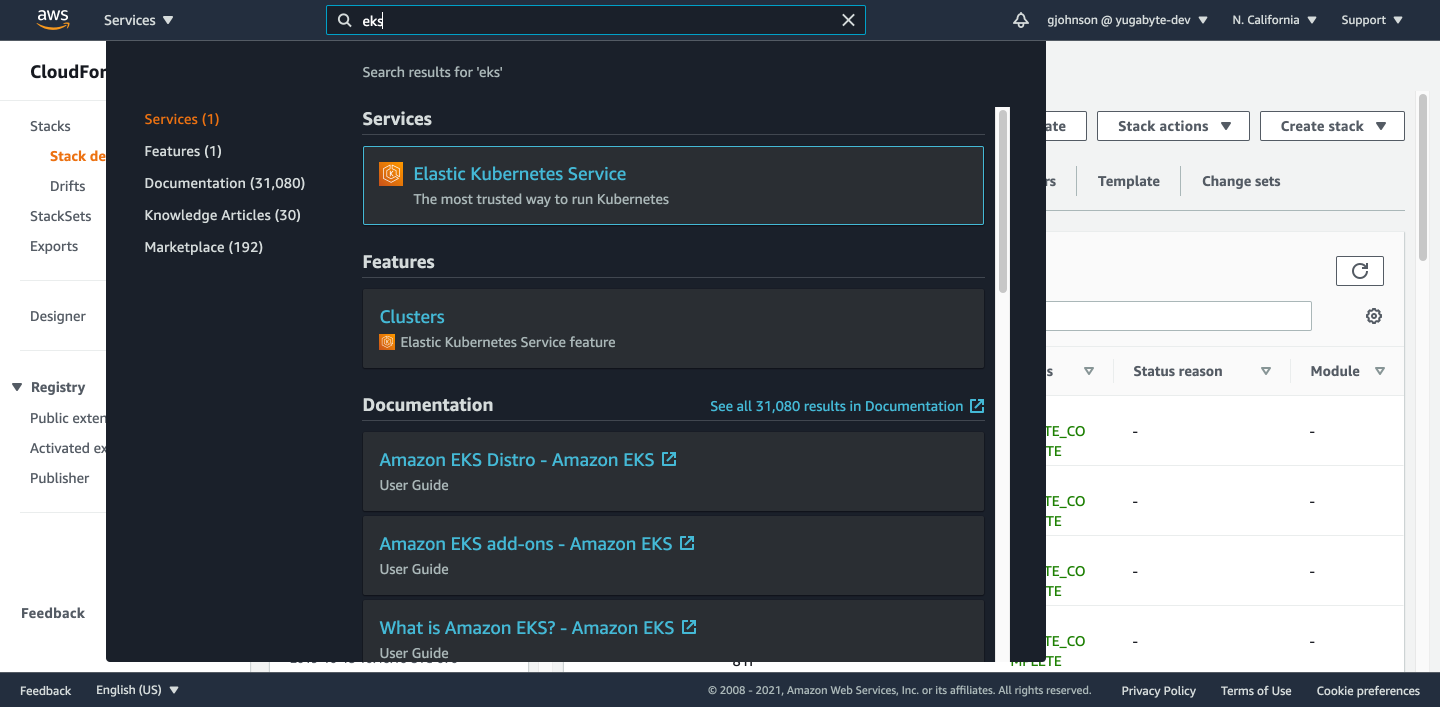
After your stack is created, type “eks” in the search bar and click on “Elastic Kubernetes Service”.
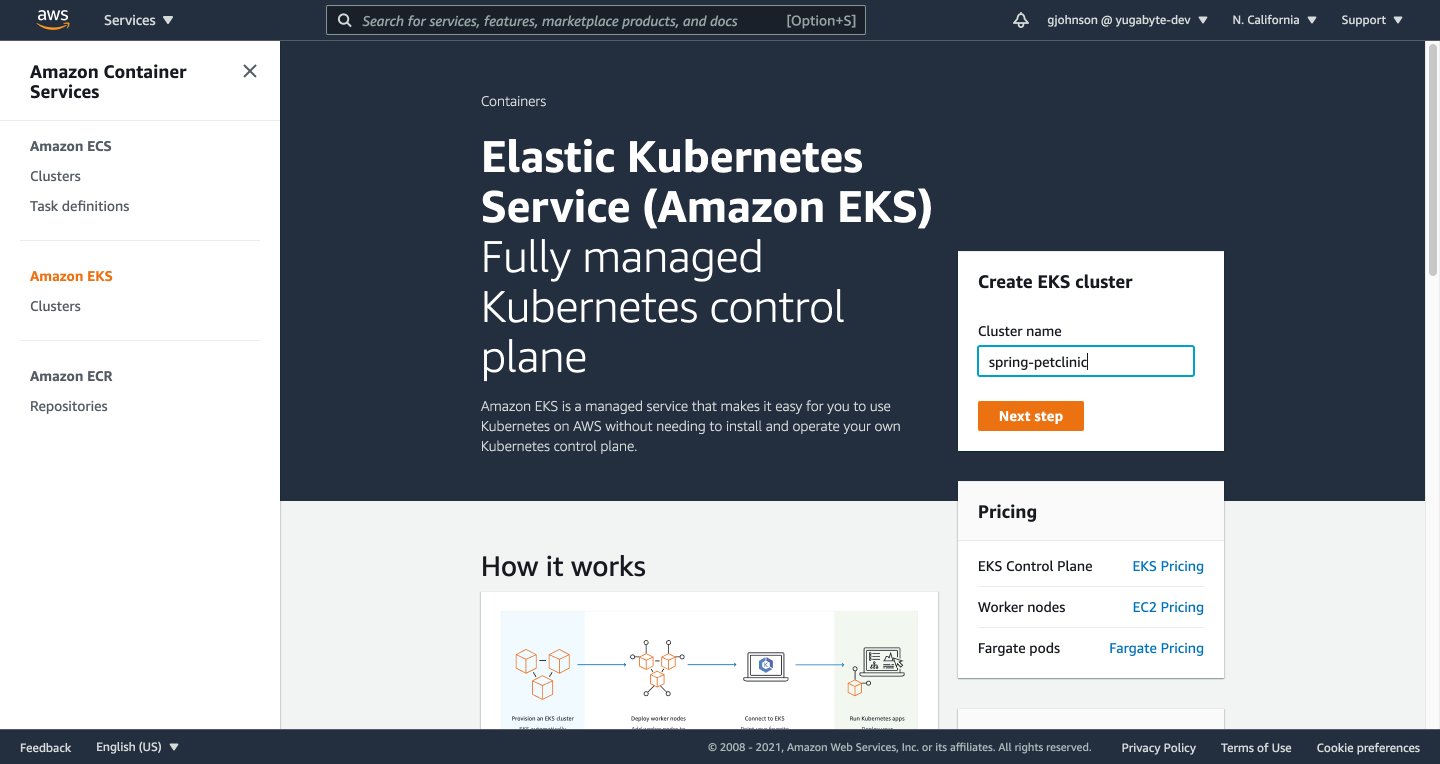
Under “Create EKS cluster” enter a cluster name and click the Next Step button.
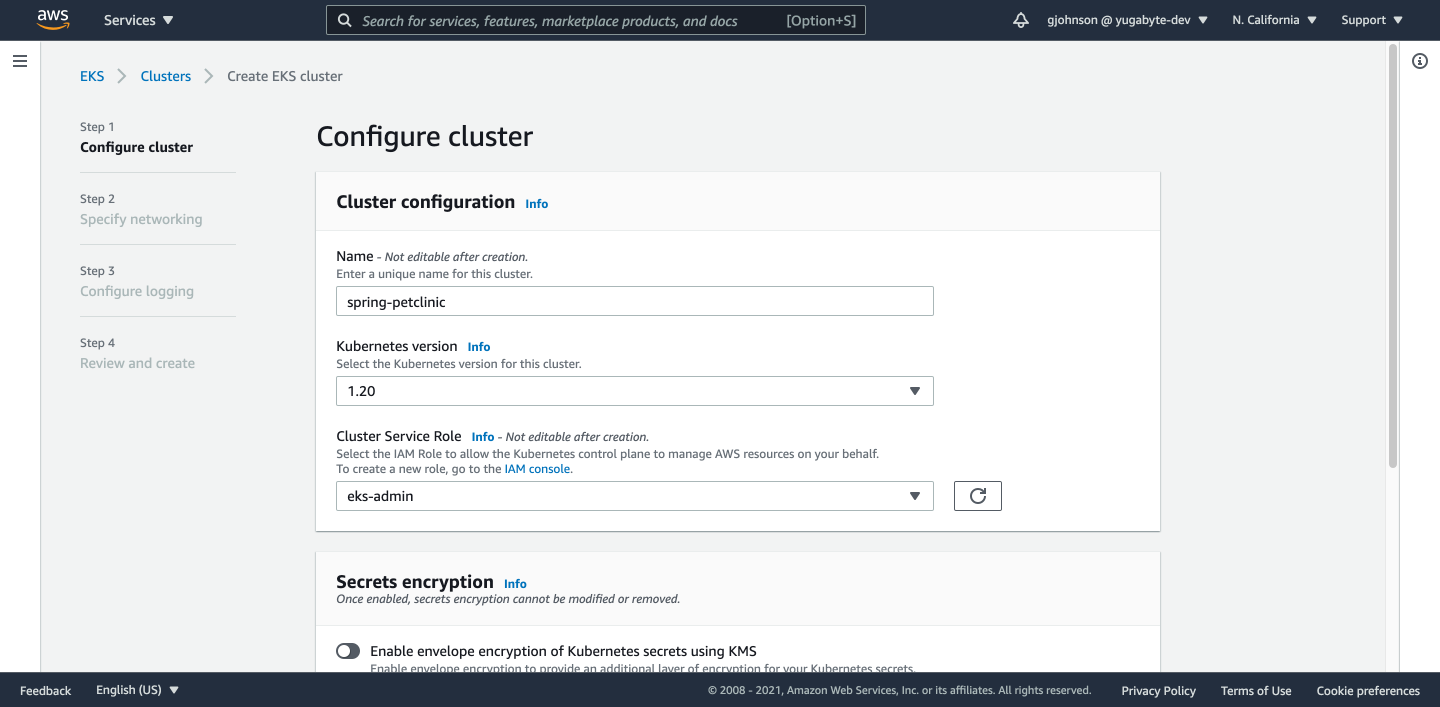
Select a Cluster Service Role and click the Next button.
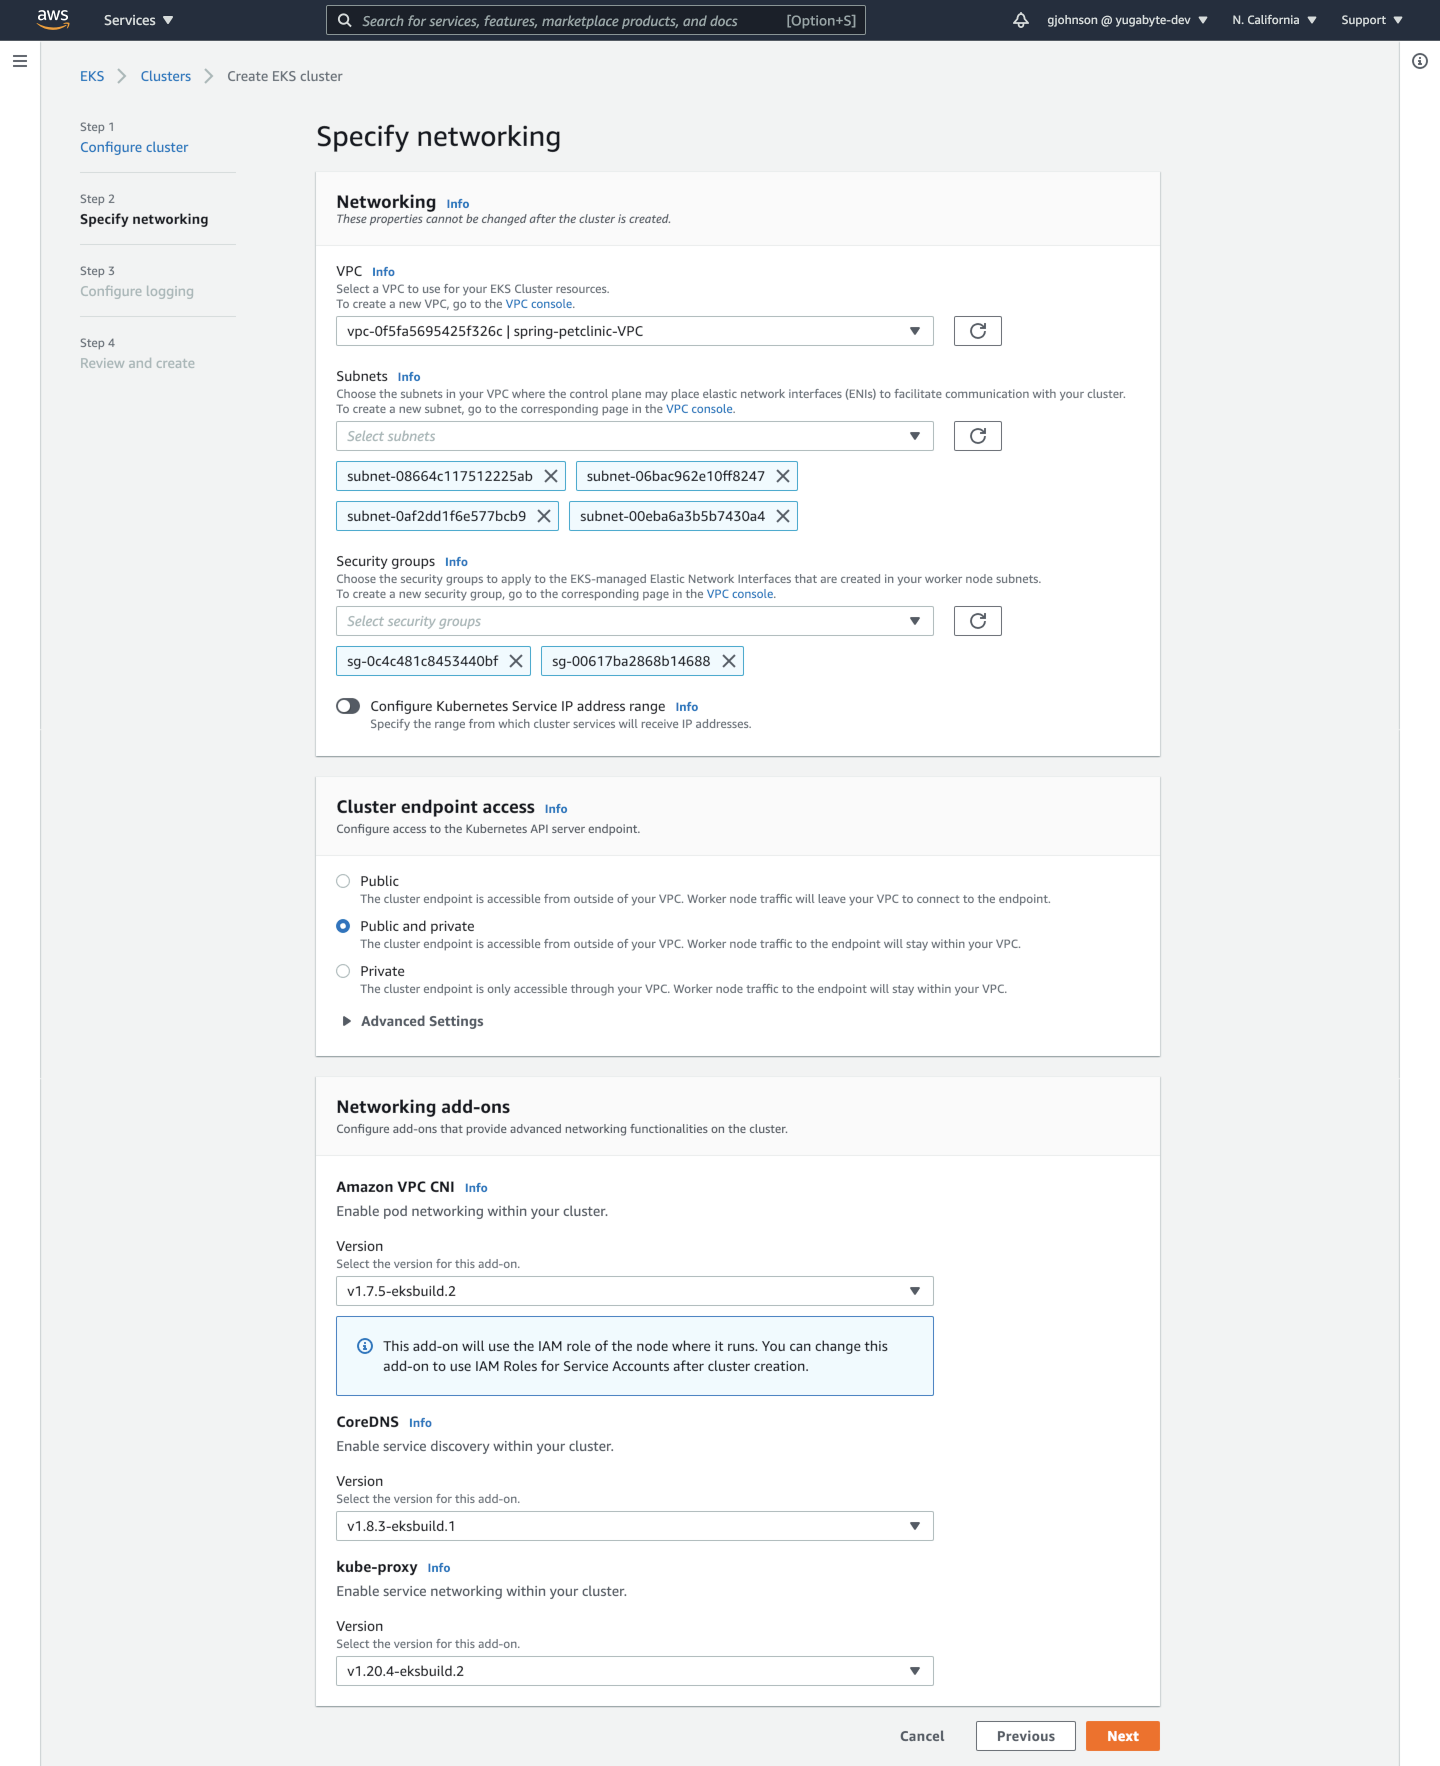
Under Networking, choose the VPC you just created (that should automatically choose the appropriate subnets) and the two security groups that are available. Under Cluster Endpoint Access, choose Public and Private. Click the Next button.
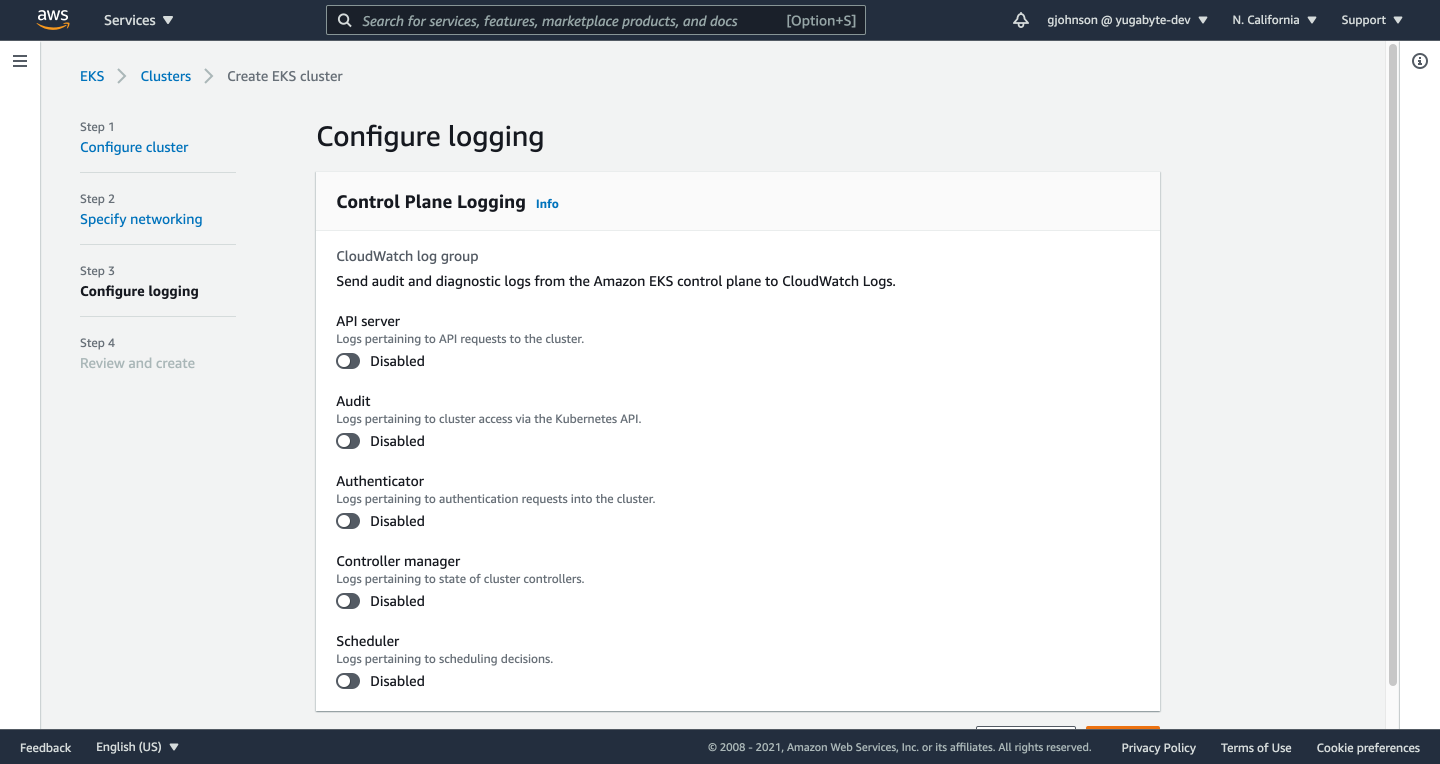
Select nothing for Configure Logging and click the Next button.
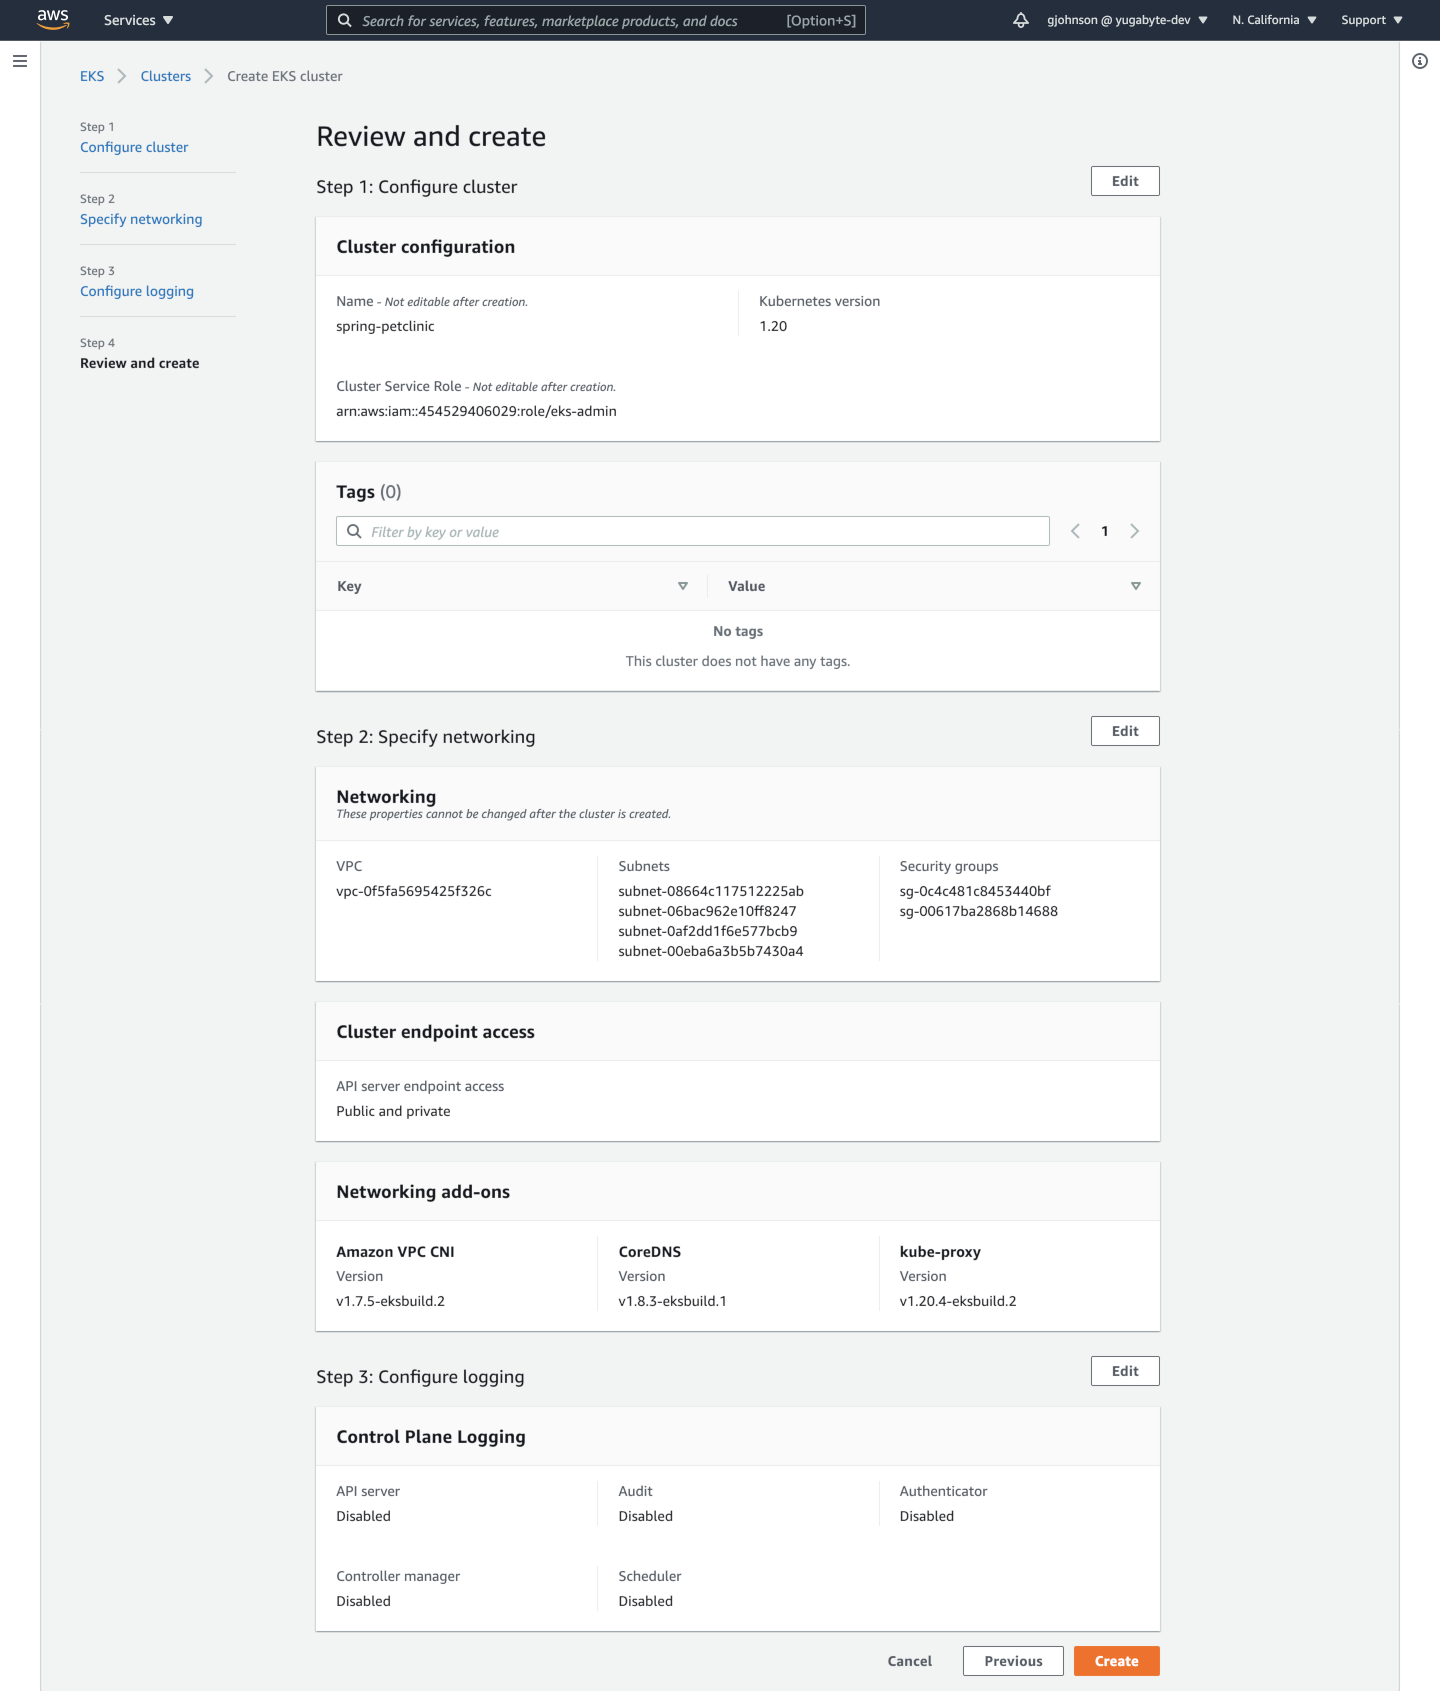
Review your EKS cluster and click the Create button.
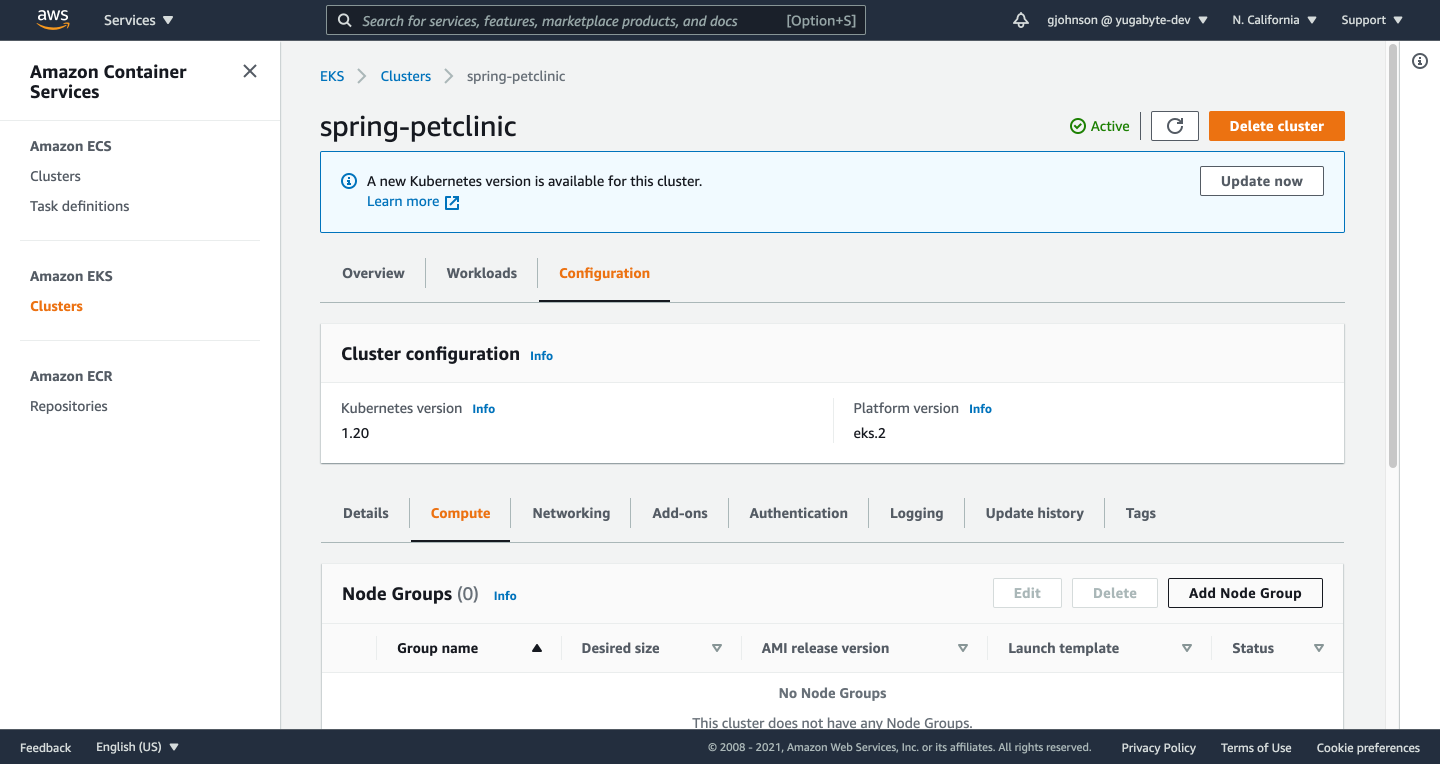
After your cluster has been created, go to the Configuration tab and the Compute tab under it. Click on the Add Node Group button.
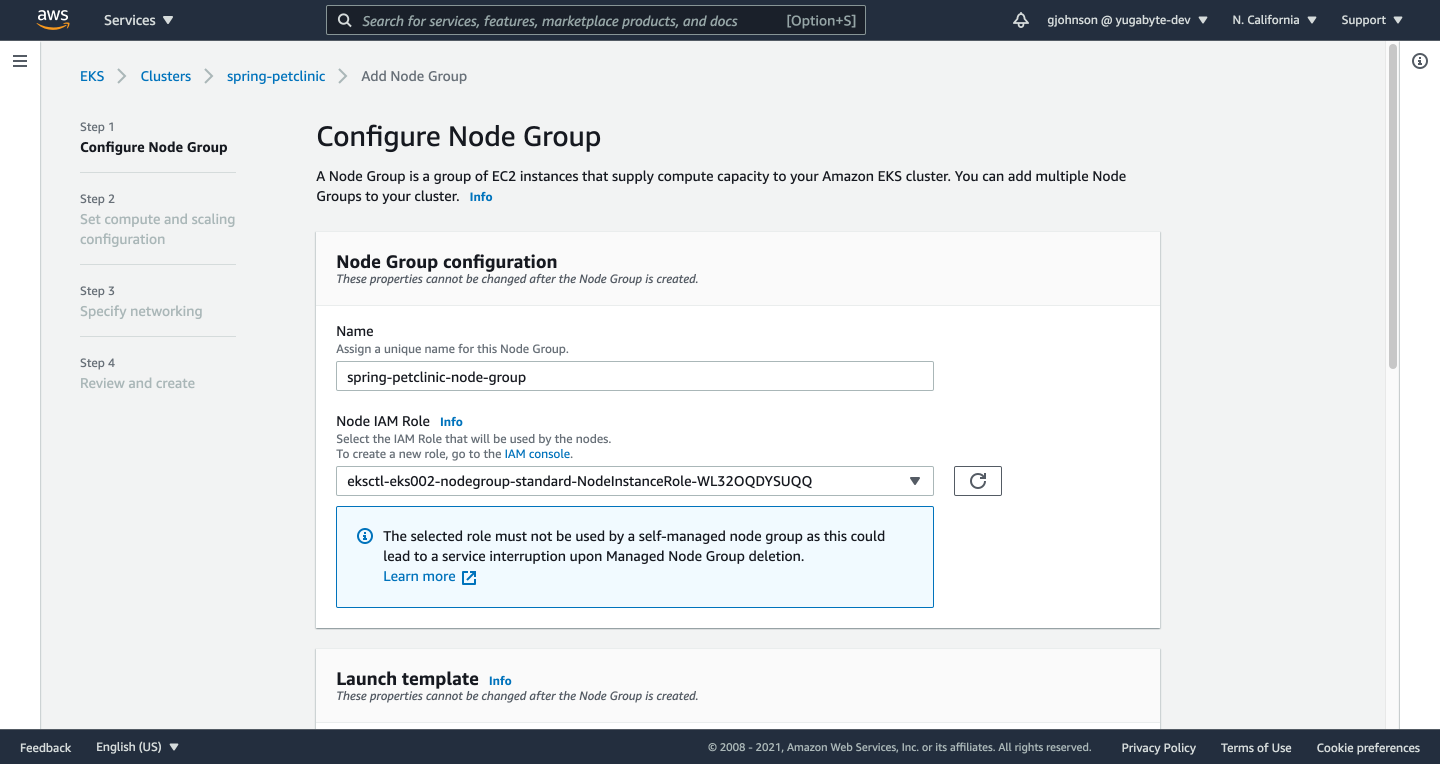
Give your node group a Name, select an IAM Role, and click the Next button.
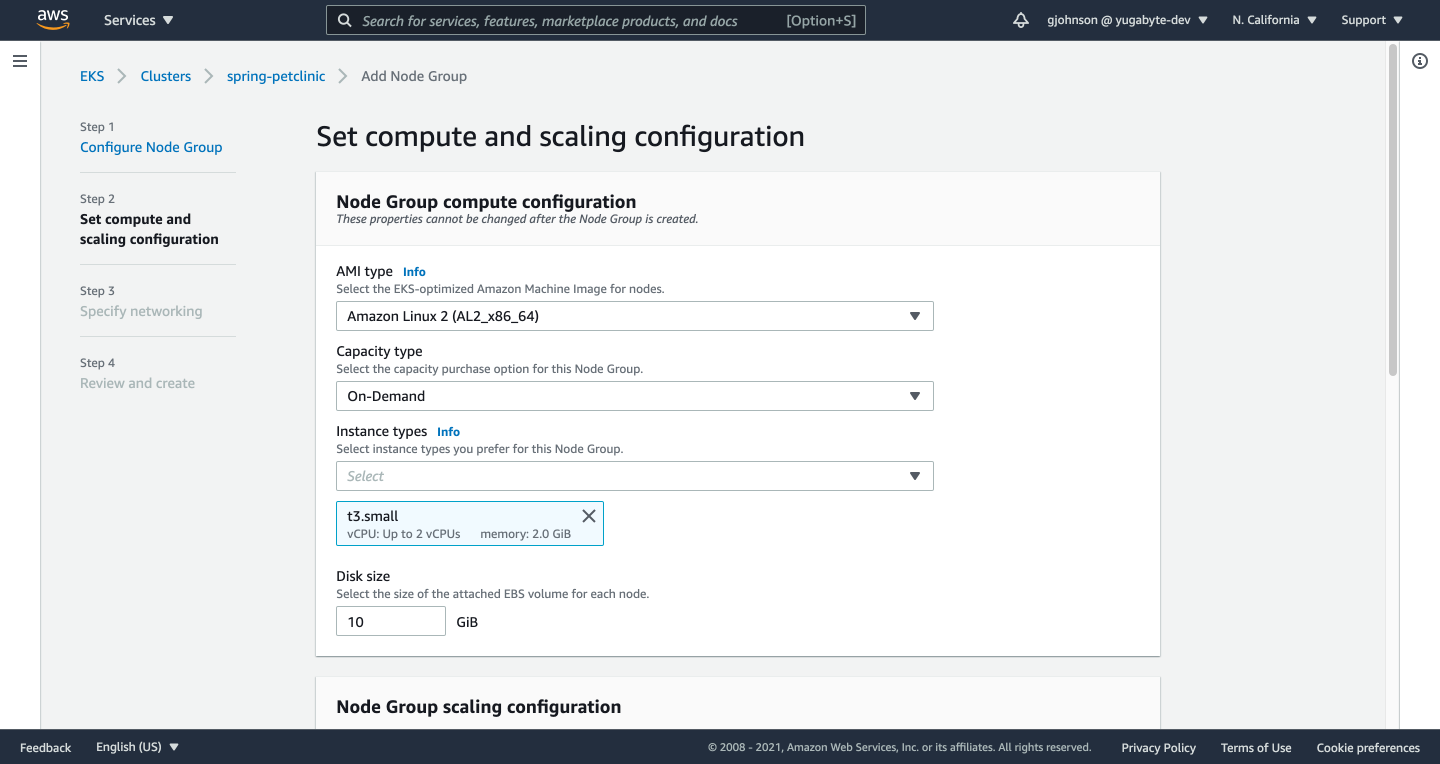
Set your compute and scaling options and click the Next button.
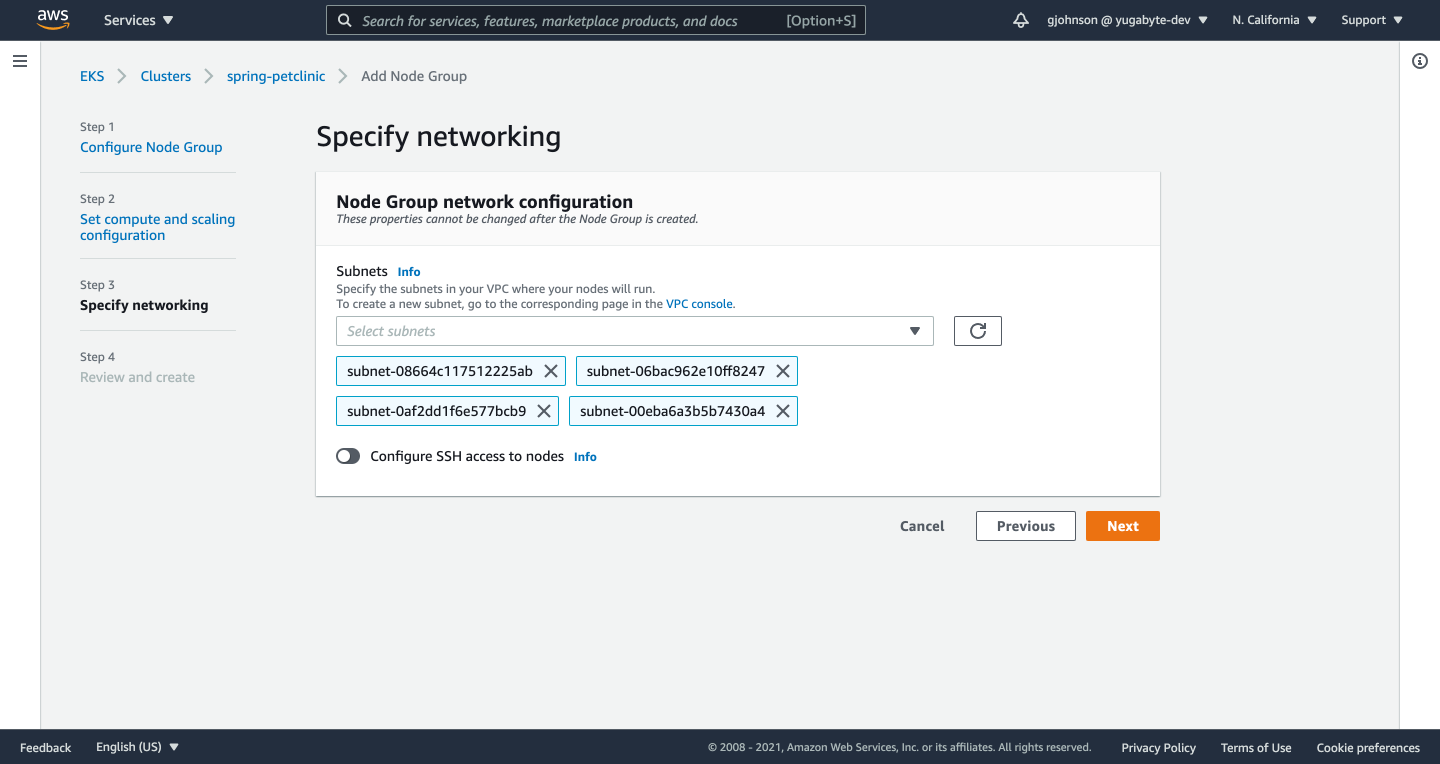
Your subnets should automatically be selected. Click the Next button.
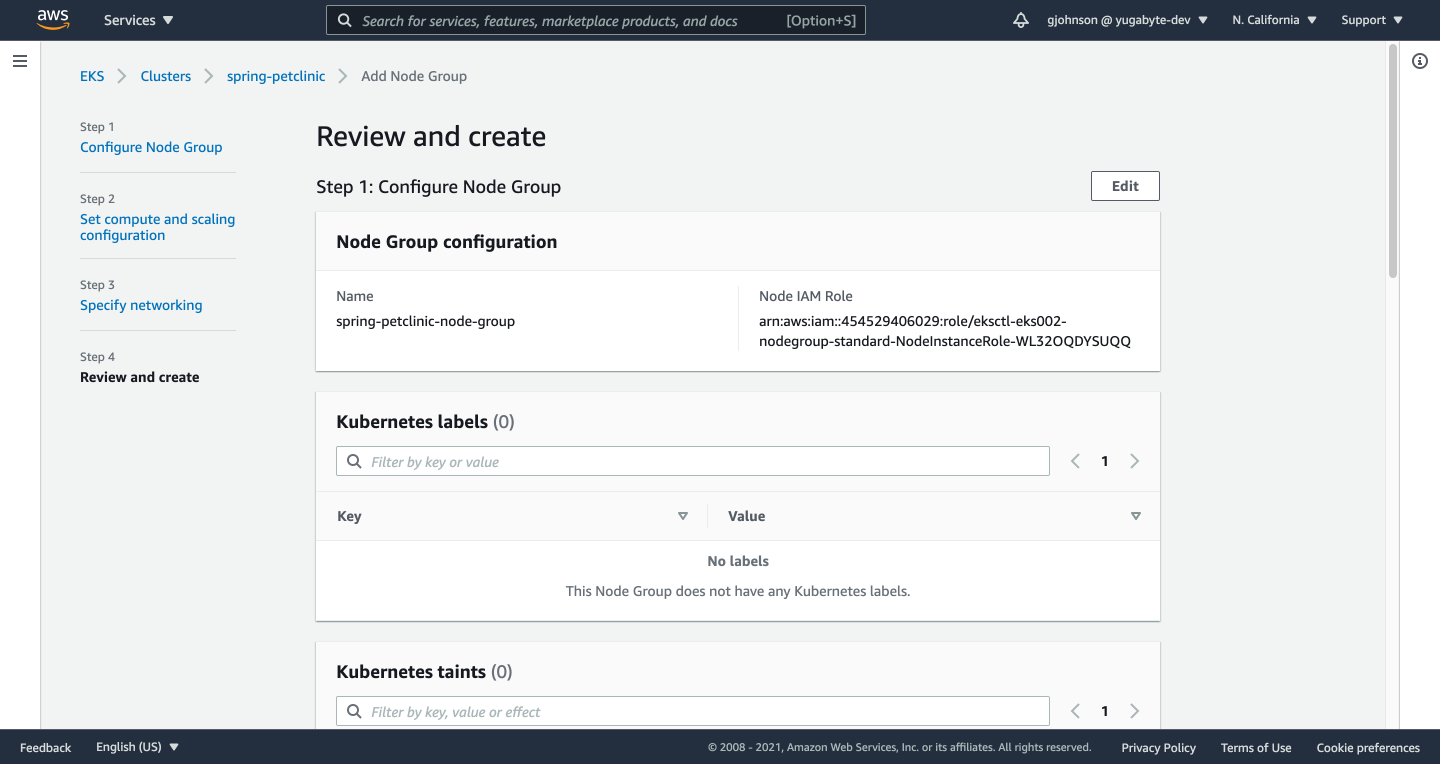
Review the details of your node group and click the Create button.
On your computer from terminal, configure
kubectlto connect to your EKS cluster:aws eks --region [aws_region] update-kubeconfig --name [cluster_name].$ aws eks --region us-west-1 update-kubeconfig --name spring-petclinic Added new context arn:aws:eks:us-west-1:454529406029:cluster/spring-petclinic to /Users/gavinjohnson/.kube/configCreate a new file named
manifest-eks.yml, enter the following contents, and save:apiVersion: v1 kind: Service metadata: name: spring-petclinic labels: run: spring-petclinic spec: selector: app: spring-petclinic ports: - protocol: TCP port: 80 targetPort: 8080 type: LoadBalancer --- apiVersion: apps/v1 kind: Deployment metadata: name: spring-petclinic labels: app: spring-petclinic spec: replicas: 2 selector: matchLabels: app: spring-petclinic template: metadata: labels: app: spring-petclinic spec: containers: - name: spring-petclinic image: [aws_acct_id].dkr.ecr.[aws_region].amazonaws.com/spring-petclinic:latest ports: - containerPort: 8080 env: - name: JAVA_OPTS value: "-Dspring.profiles.active=yugabytedb -Dspring.datasource.url=jdbc:postgresql://[host]:[port]/petclinic?load-balance=true -Dspring.datasource.initialization-mode=never"Create the Service and Deployment on your EKS cluster:
kubectl create -f manifest-eks.yml.$ kubectl create -f manifest-eks.yml service/spring-petclinic created deployment.apps/spring-petclinic createdGet the URL of the load balancer for the PetClinic app:
kubectl get svc.$ kubectl get svc NAME TYPE CLUSTER-IP EXTERNAL-IP PORT(S) AGE kubernetes ClusterIP 10.100.0.1 <none> 443/TCP 20h spring-petclinic LoadBalancer 10.100.30.39 ad7029ef94fed4c06a25897baf9e3c31-1572590571.us-west-1.elb.amazonaws.com 80:30736/TCP 37s
= 29. If you go to the External IP address listed (http://ad7029ef94fed4c06a25897baf9e3c31-1572590571.us-west-1.elb.amazonaws.com/), the PetClinic sample application should be available.

The PetClinic sample application is now connected to your Yugabyte Cloud cluster and running on Kubernetes on EKS.
What’s Next?
Give Yugabyte Cloud a try by signing up for a free tier account in a couple of minutes. Got questions? Feel free to ask them in our YugabyteDB community Slack channel.